DIYables 7-Inch Touch Screen Display for Raspberry Pi
Image Gallery
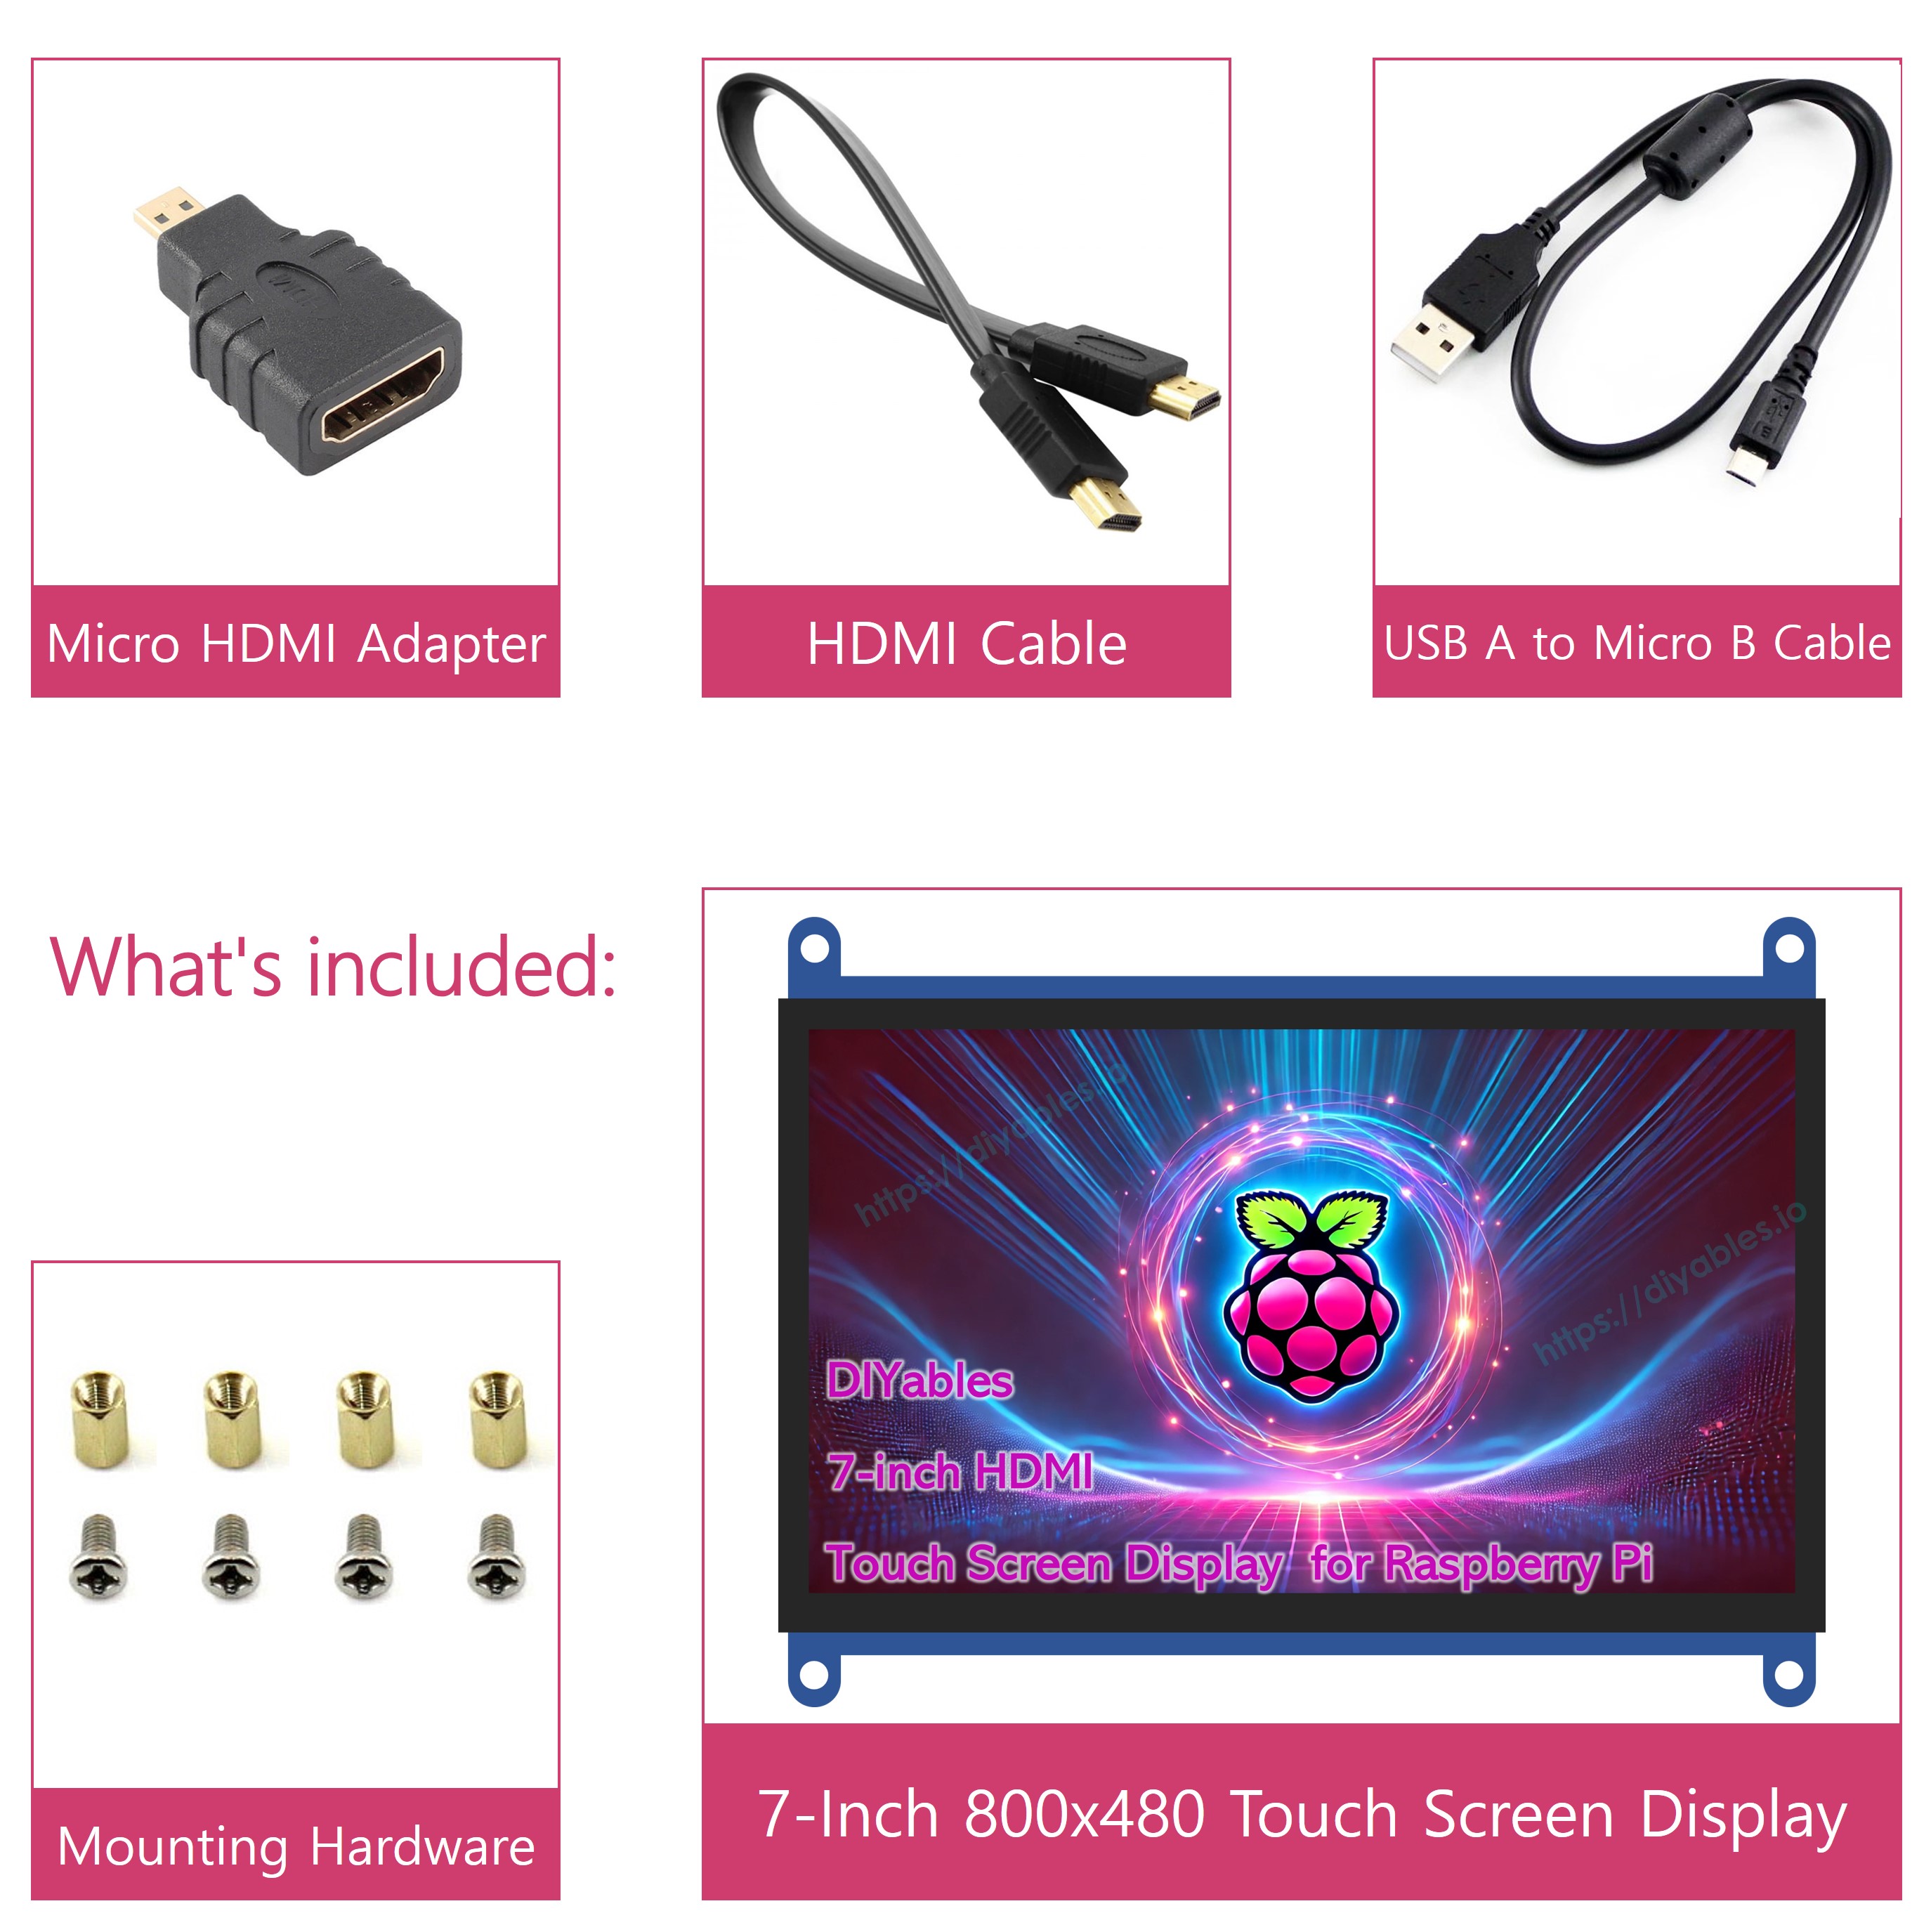
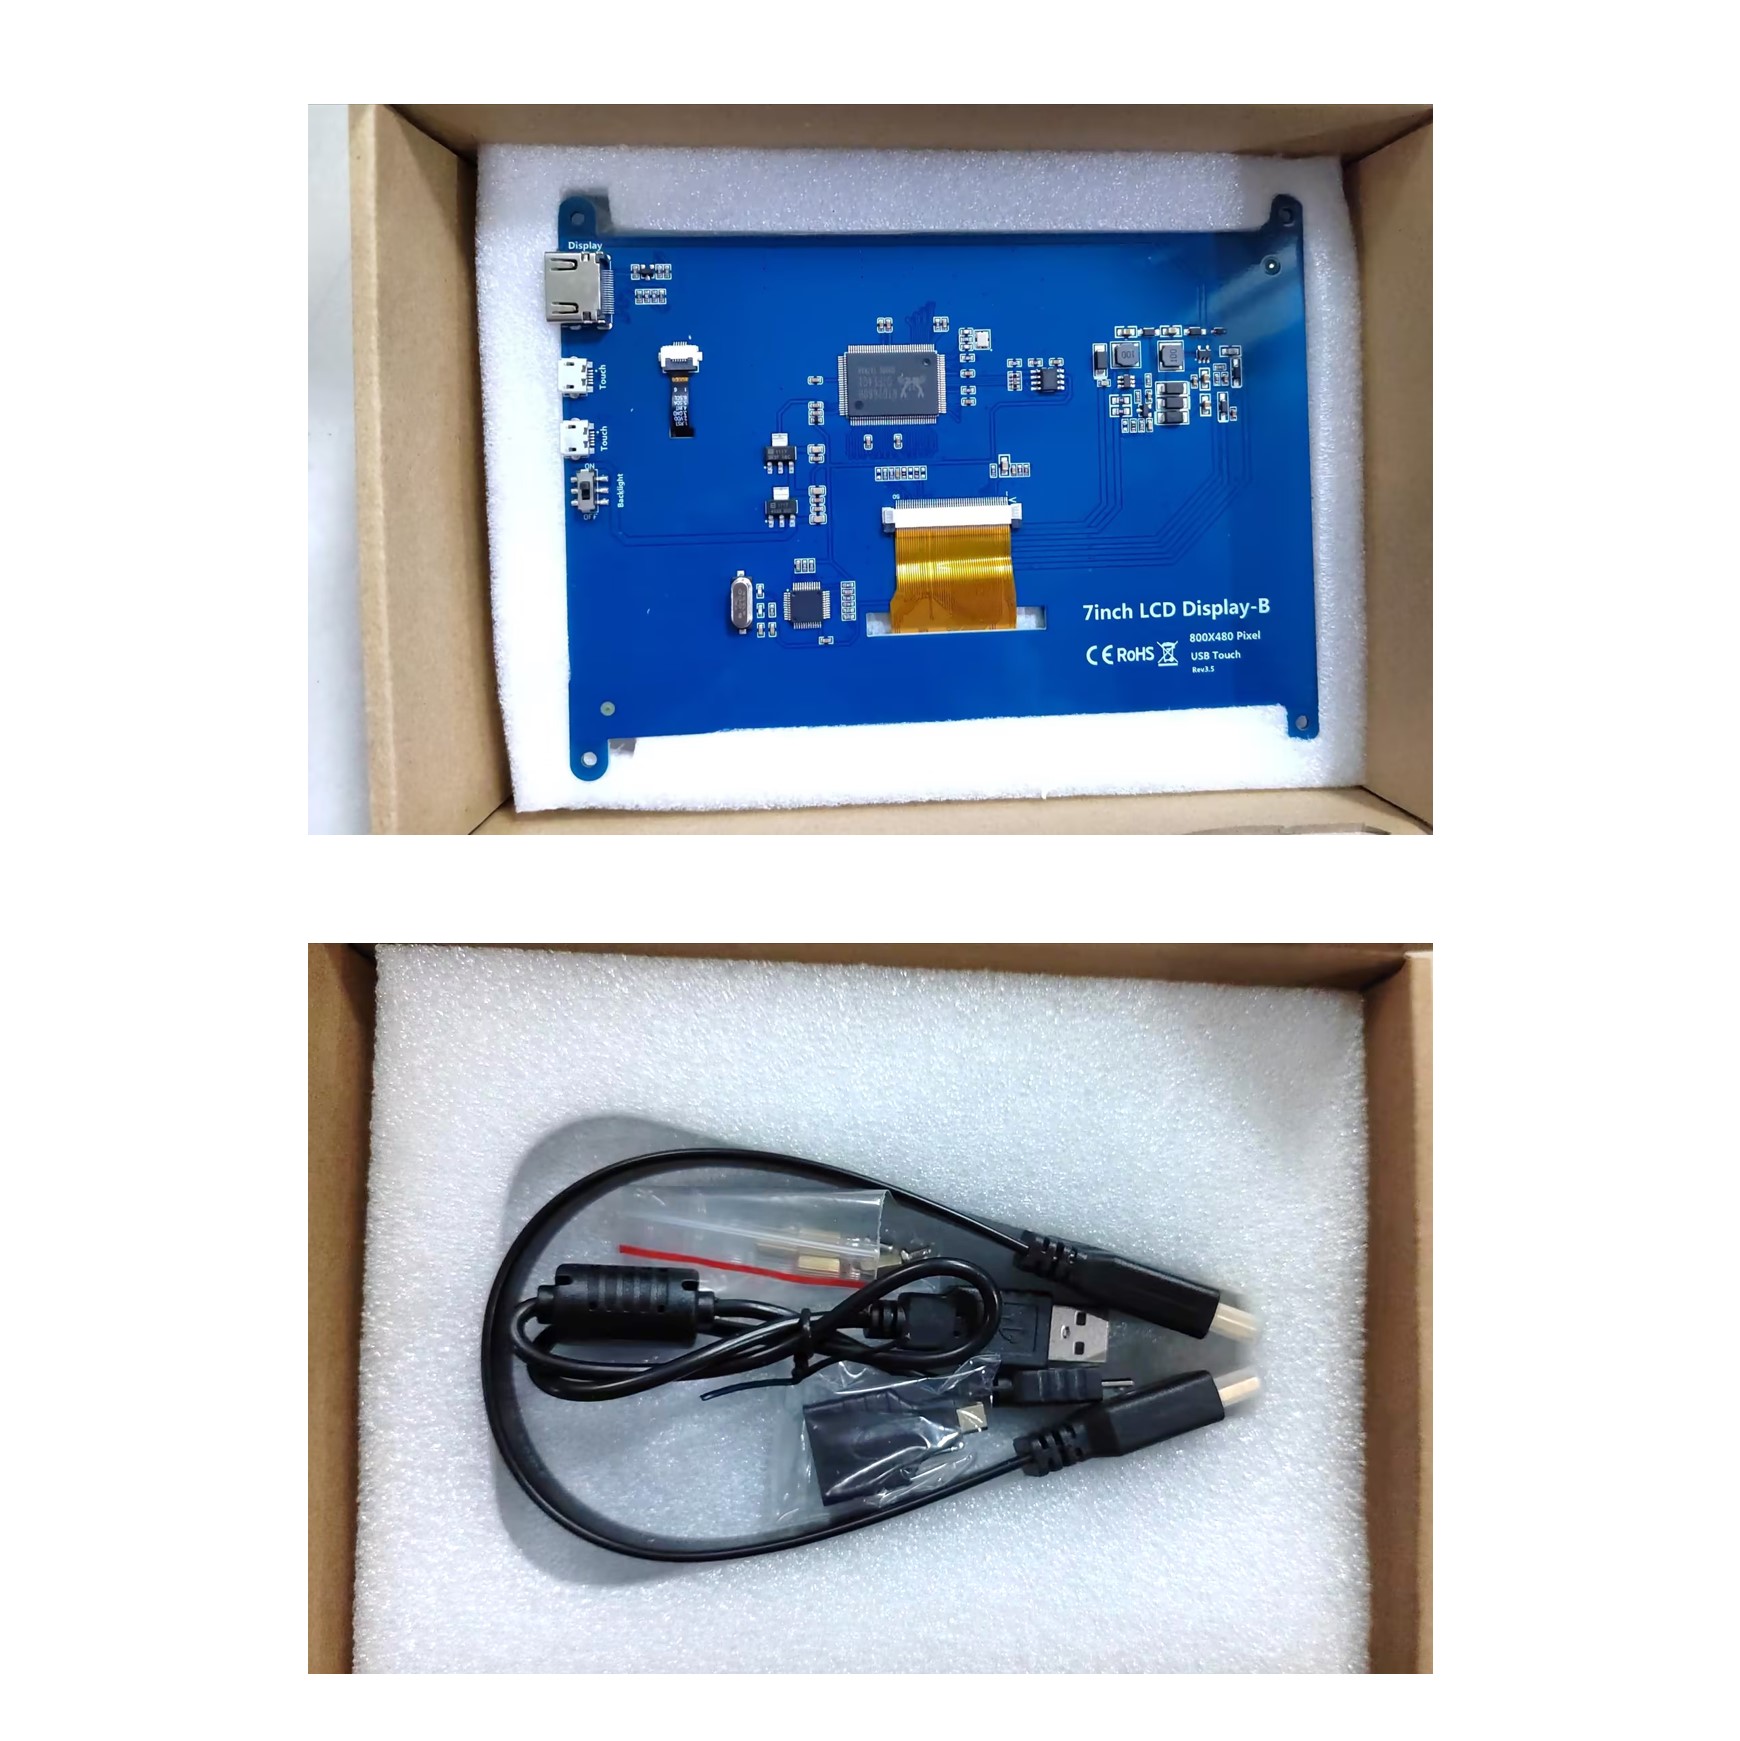
Overview
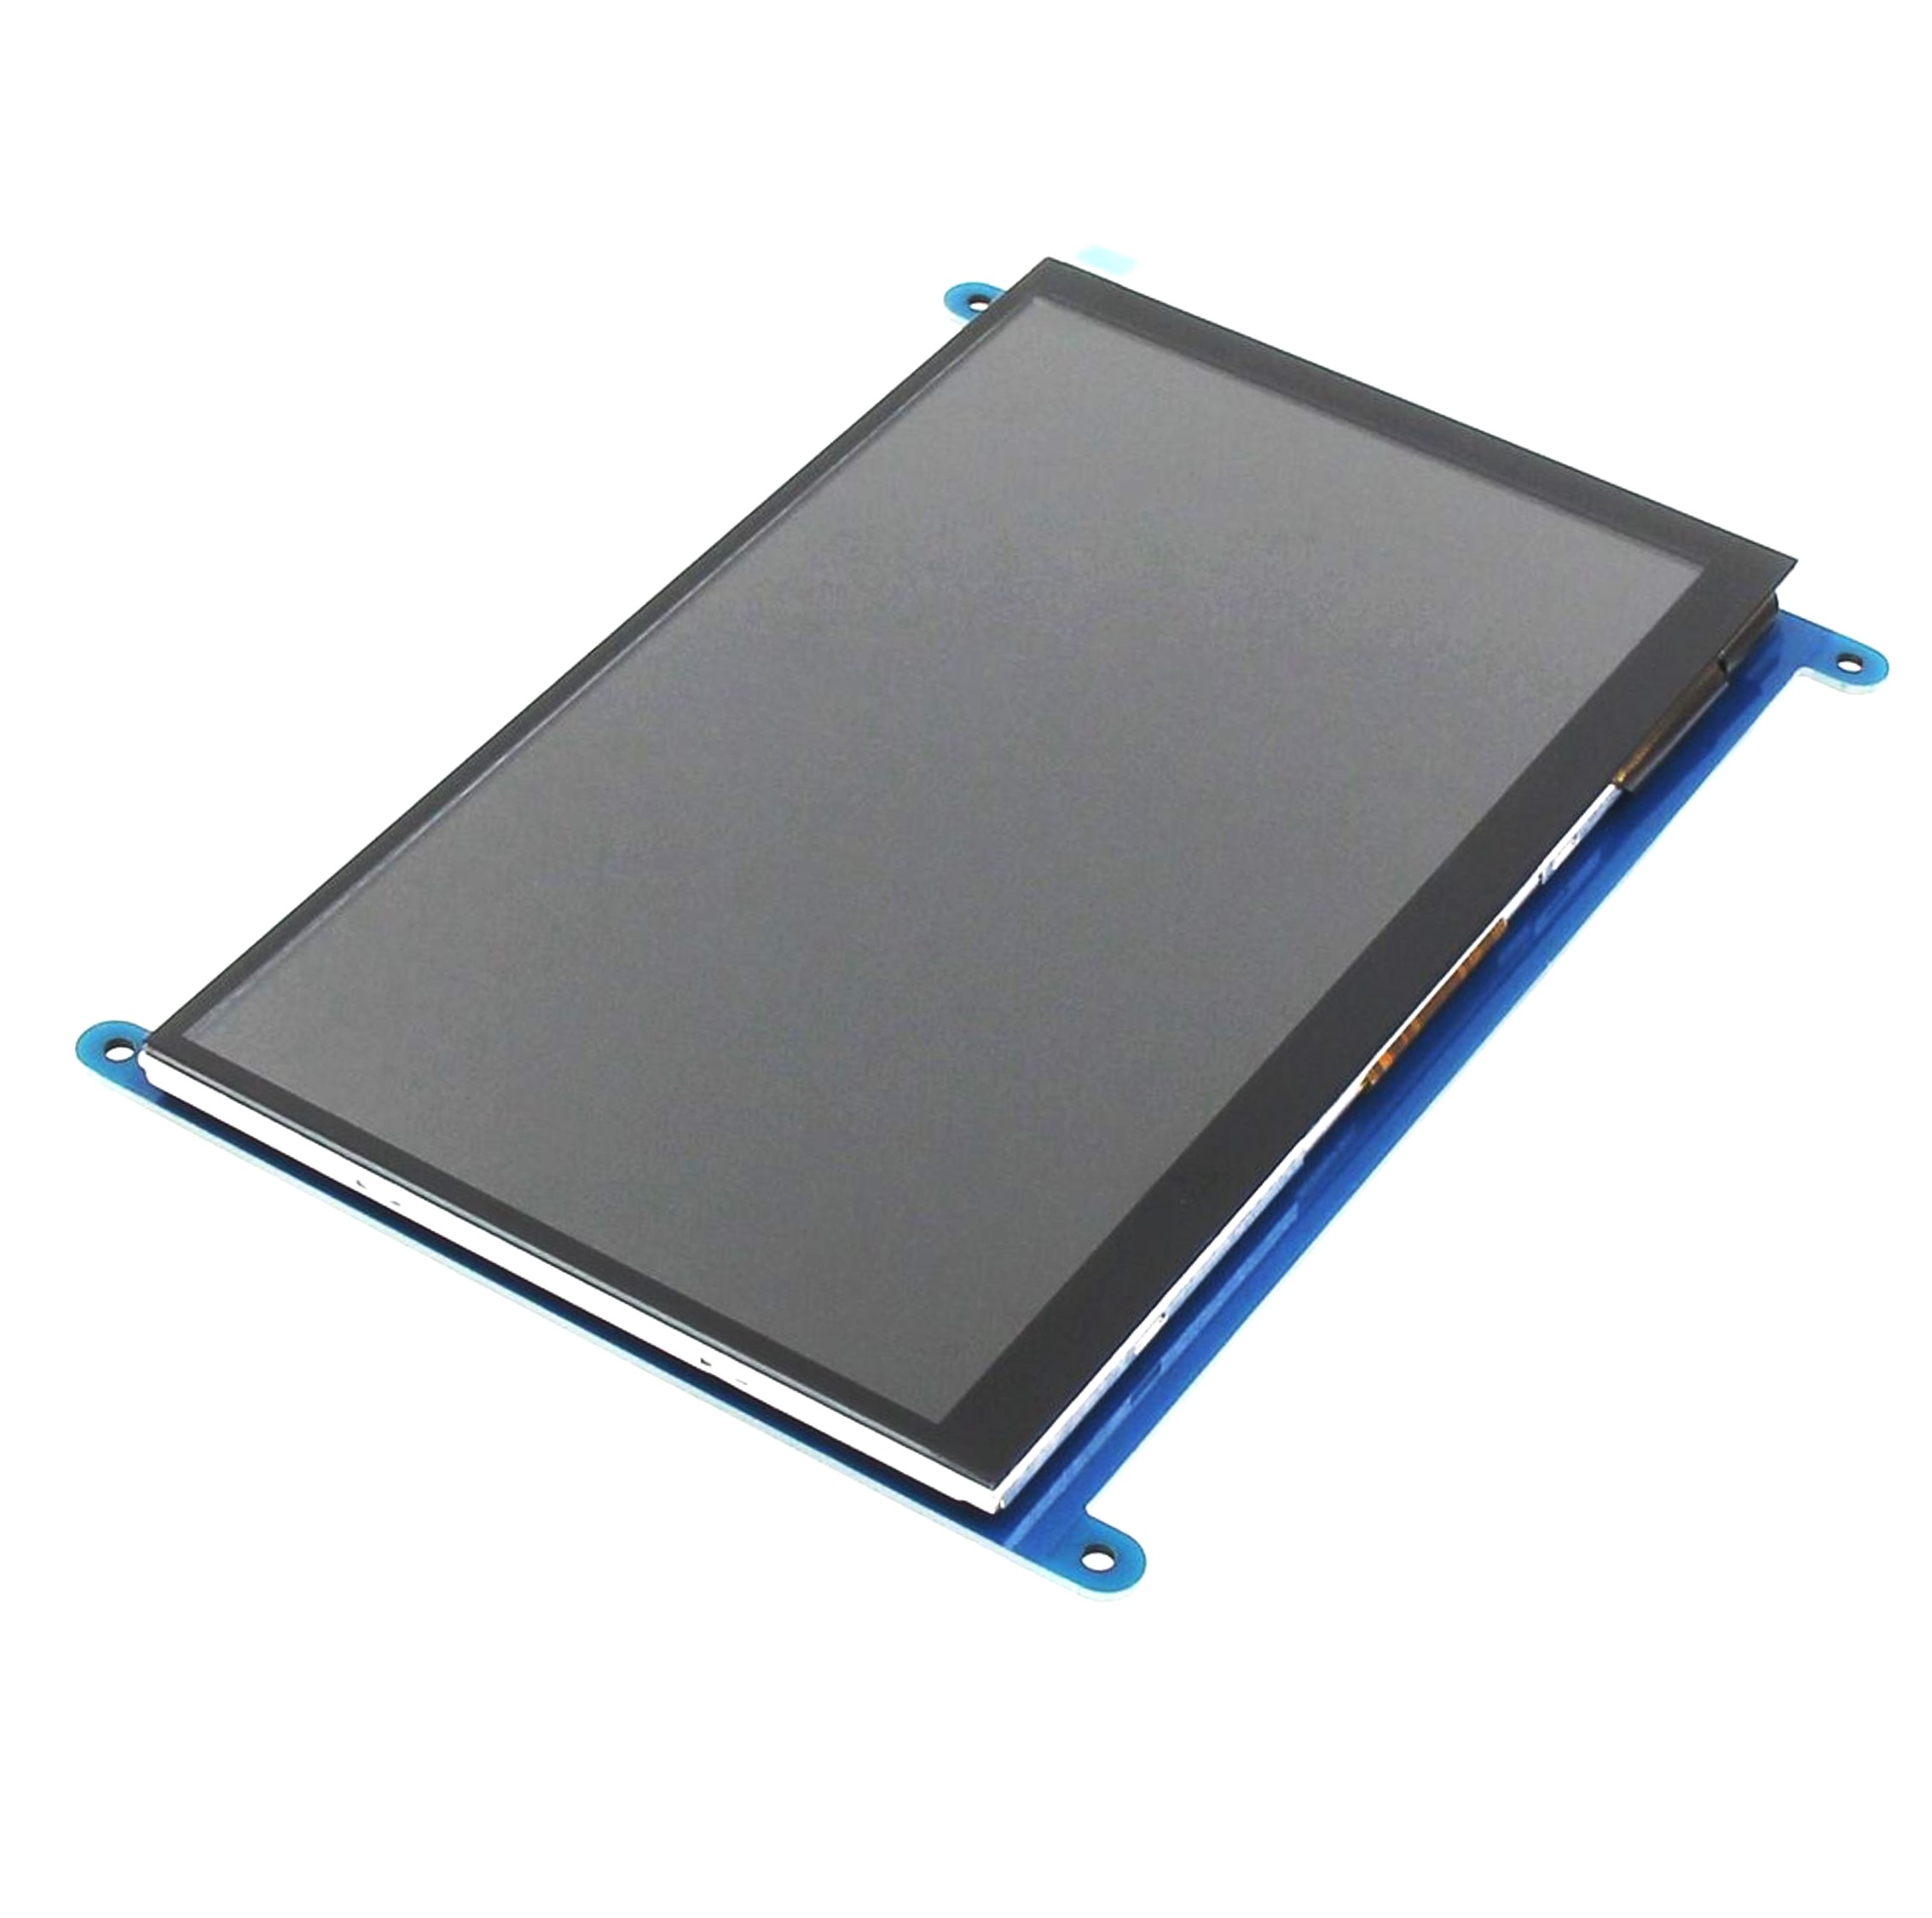
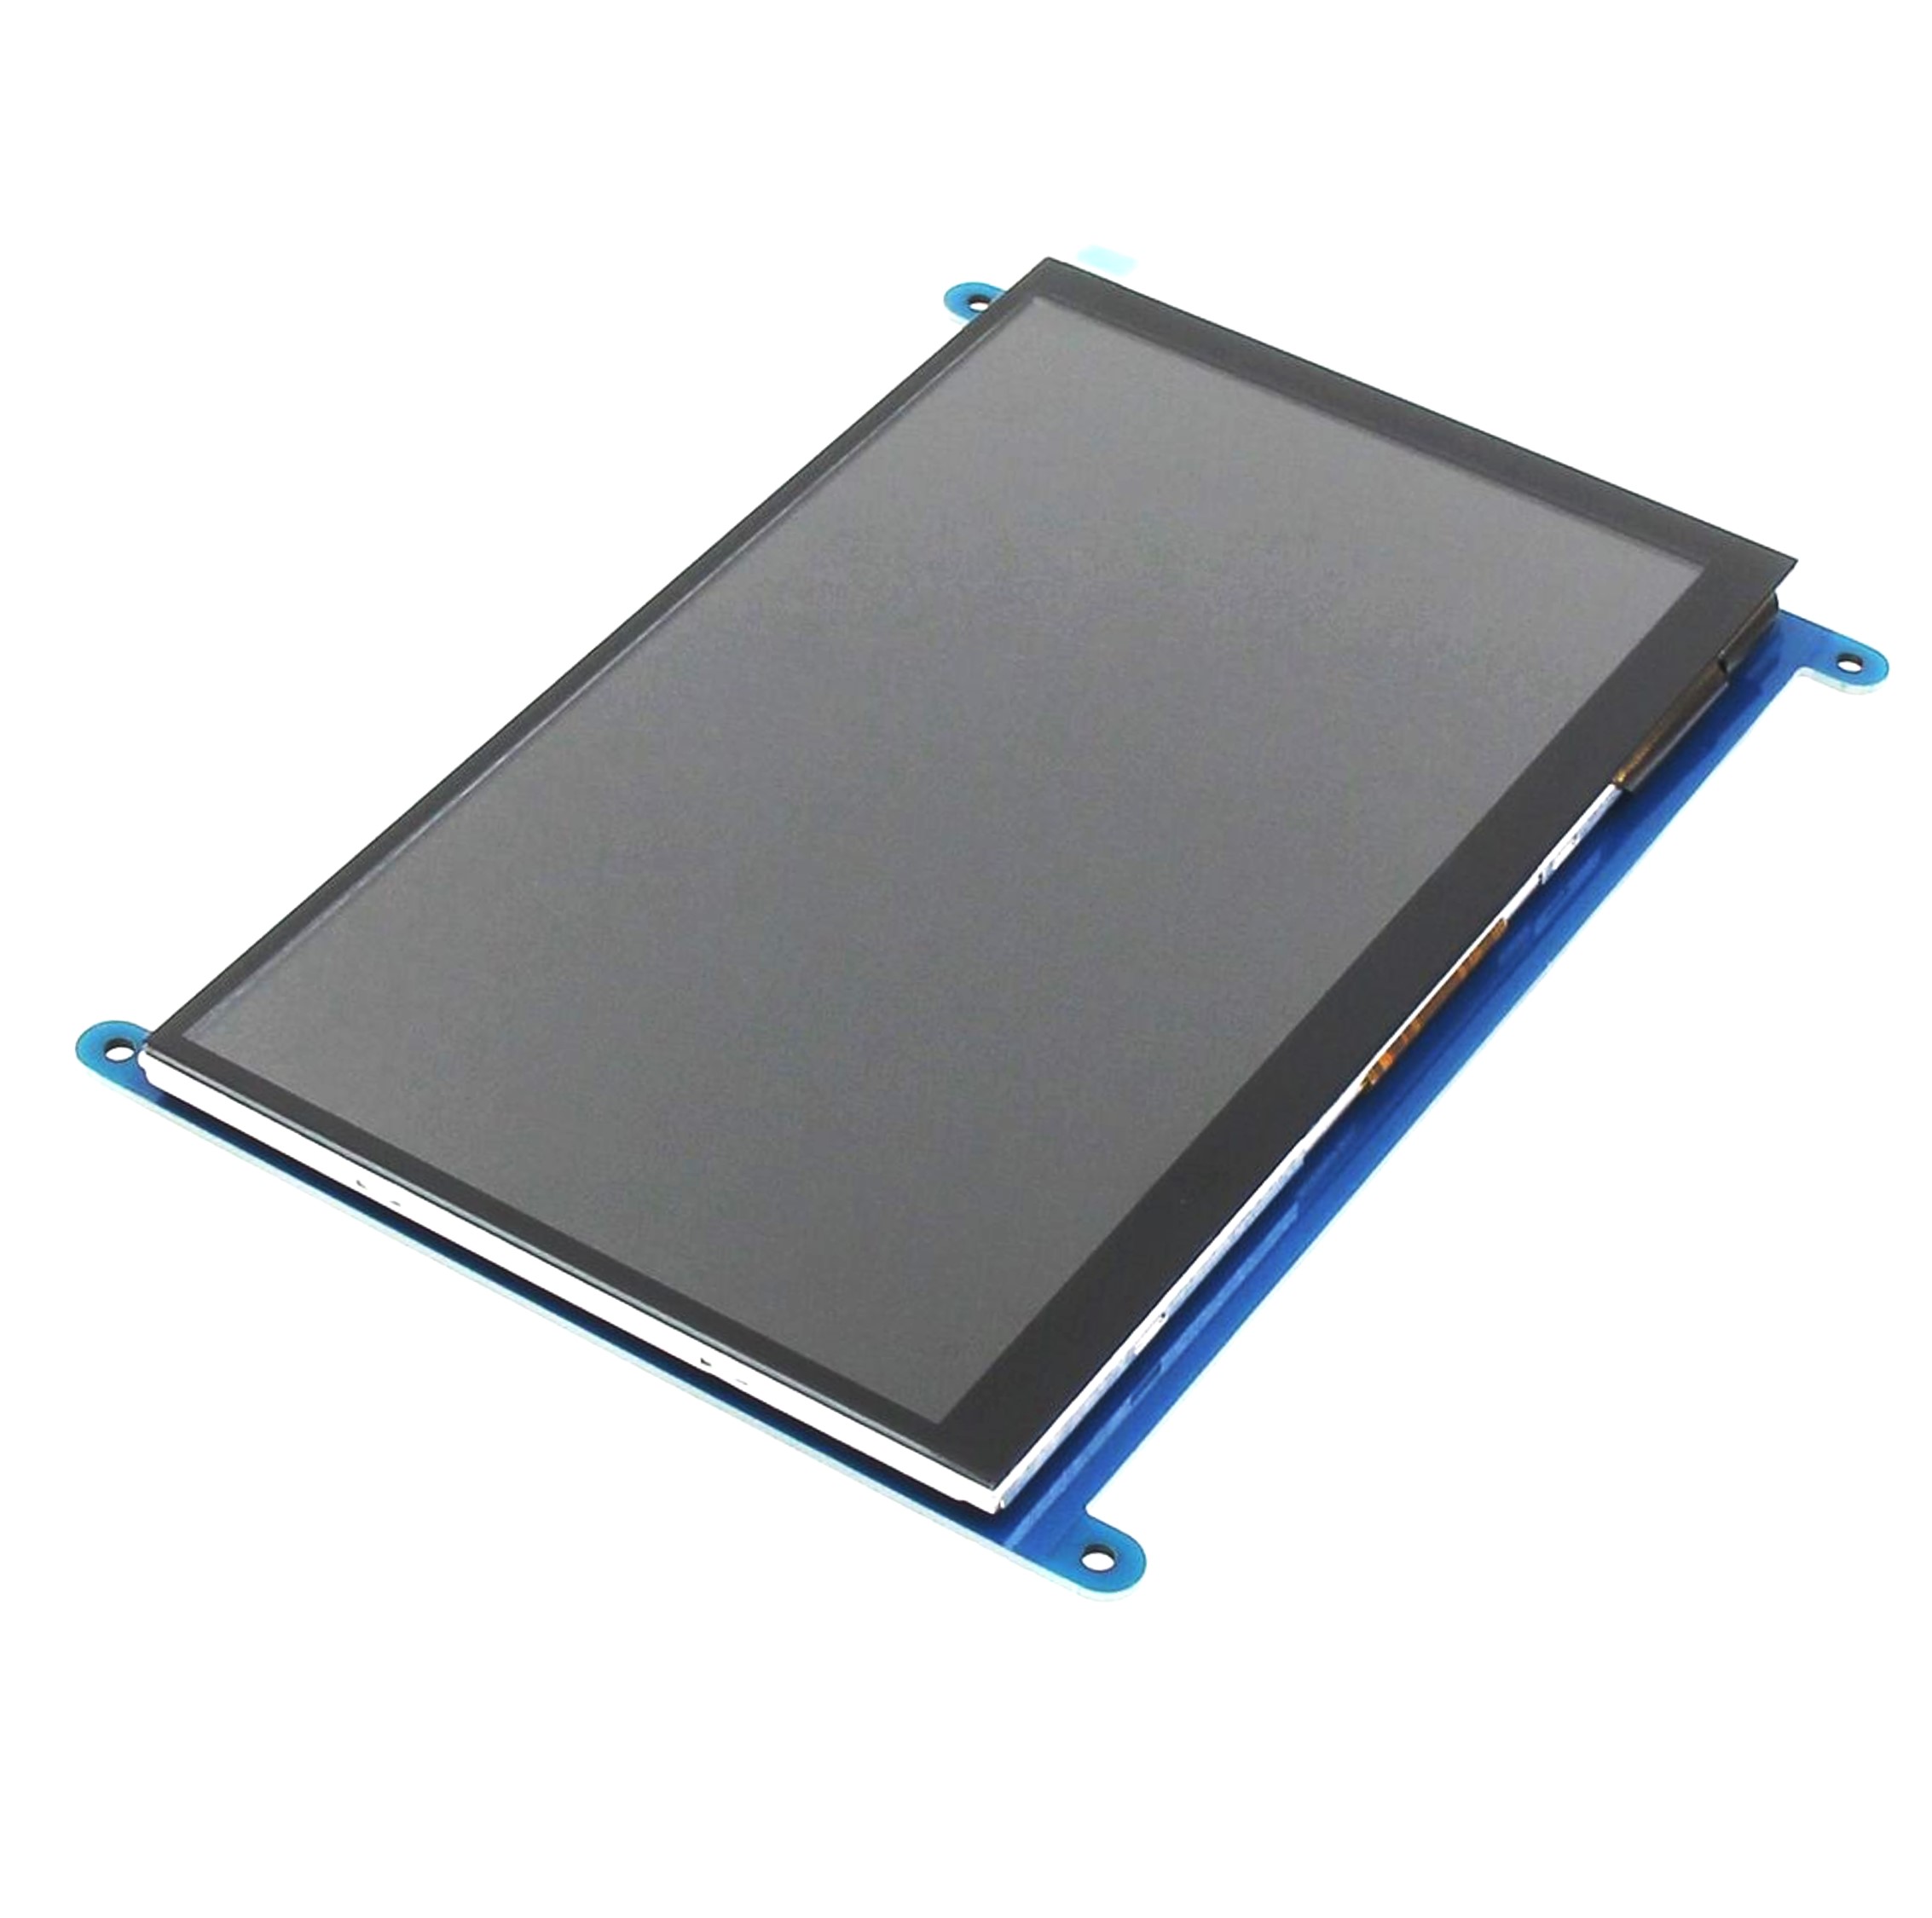
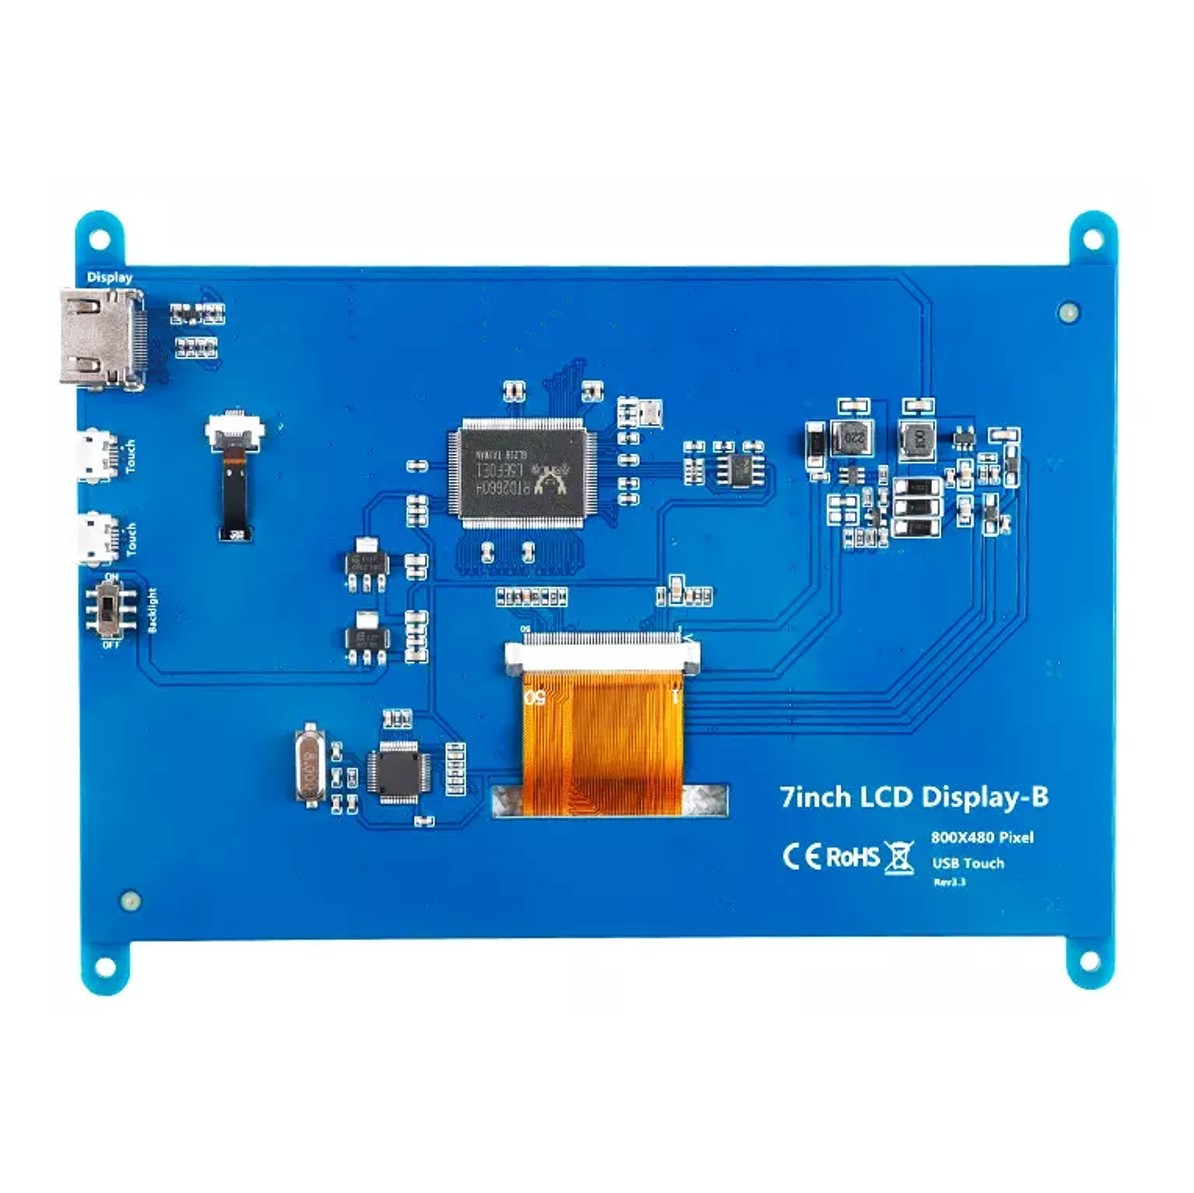
The DIYables 7-Inch Touch Screen Display for Raspberry Pi delivers an 800×480 pixel capacitive touchscreen panel designed specifically for Raspberry Pi projects. Video connects via HDMI and touch input via USB, enabling a true plug-and-play setup that requires minimal software configuration. The 170° viewing angle, LED backlight, and VESA-compatible mounting holes make it suitable for kiosk, robotics, home automation, and educational applications.
Quick Overview
| Property | Value |
|---|---|
| Screen Size | 7 inches diagonal |
| Resolution | 800 × 480 pixels |
| Touch Technology | Capacitive multi-touch |
| Video Interface | HDMI |
| Touch Interface | USB |
| Supply Voltage | 5V (USB or GPIO) |
| Viewing Angle | 170° |
| Backlight | LED |
| Mounting | VESA-compatible holes |
| Dimensions | ~165mm × 100mm |
| Compatible Boards | All Raspberry Pi models (with HDMI) |
Key Features
HDMI Video + USB Touch
Separate video and touch interfaces provide maximum compatibility. Any device with HDMI output and a USB port can use this display.
Capacitive Multi-Touch
Capacitive touch technology delivers smooth, accurate touch response without requiring a stylus.
Plug-and-Play
No complex driver installation required on Raspberry Pi — HDMI and USB are natively supported.
170° Viewing Angle
Wide viewing angle makes the display usable in varied mounting orientations and group settings.
VESA-Compatible Mounting
Standard VESA mounting holes allow attachment to stands, enclosures, and wall mounts.
Technical Specifications
| Parameter | Value |
|---|---|
| Screen Size | 7 inches |
| Resolution | 800 × 480 pixels |
| Touch Technology | Capacitive |
| Video Interface | HDMI |
| Touch Interface | USB |
| Supply Voltage | 5V (USB or GPIO) |
| Viewing Angle | 170° |
| Backlight | LED |
| Dimensions | ~165mm × 100mm |
| Mounting | VESA-compatible |
Compatible Hardware
| Board | Notes |
|---|---|
| Raspberry Pi 5 | HDMI (micro HDMI adapter may be needed) |
| Raspberry Pi 4 Model B | HDMI (micro HDMI adapter required) |
| Raspberry Pi 3 Model B+ / B | Full-size HDMI, direct connect |
| Raspberry Pi 2 Model B | Full-size HDMI, direct connect |
| Raspberry Pi Zero 2 W | Mini HDMI adapter required |
| Other SBCs with HDMI | Compatible with any HDMI source |
Getting Started
Wiring
- Connect HDMI cable from Raspberry Pi to display HDMI port.
- Connect USB cable from Raspberry Pi to display USB touch port.
- Power the display via USB (5V) or GPIO header if supported.
- Power on Raspberry Pi — display should be detected automatically.
Raspberry Pi Configuration (if needed)
For Raspberry Pi 4/5 using micro HDMI, ensure you connect to the correct port (HDMI0 is the primary output).
To set resolution in /boot/config.txt if auto-detection fails:
| Setting | Value |
|---|---|
| hdmi_group | 2 |
| hdmi_mode | 87 |
| hdmi_cvt | 800 480 60 6 0 0 0 |
Applications
- Raspberry Pi kiosk displays
- IoT dashboards and monitoring panels
- Robotics control interfaces
- Home automation touch panels
- STEM education projects
- Portable Raspberry Pi stations
- Digital signage
Equivalent Boards
| Module | Key Difference |
|---|---|
| Raspberry Pi Official 7" Display | Uses DSI interface (no HDMI), integrated power from GPIO |
| 3.5" TFT Touch Shield | Arduino shield, SPI/parallel, much smaller |
| OLED 128x64 | Tiny monochrome display, no touch, I2C |
Notes
- Raspberry Pi 4 and 5 require a micro HDMI to HDMI adapter or cable; the Pi 3 and earlier use full-size HDMI.
- Touch calibration may be needed for precise input — use xinput_calibrator on Raspberry Pi OS.
- Ensure the display is powered adequately; the Pi's USB ports may not provide enough current for some display models — use a dedicated 5V USB adapter if the display flickers.
- For Pi Zero 2 W: both mini HDMI and USB OTG adapters are required.
Community
Revision History
| Version | Date | Notes |
|---|---|---|
| v1.0 | 2026-06 | Initial entry |