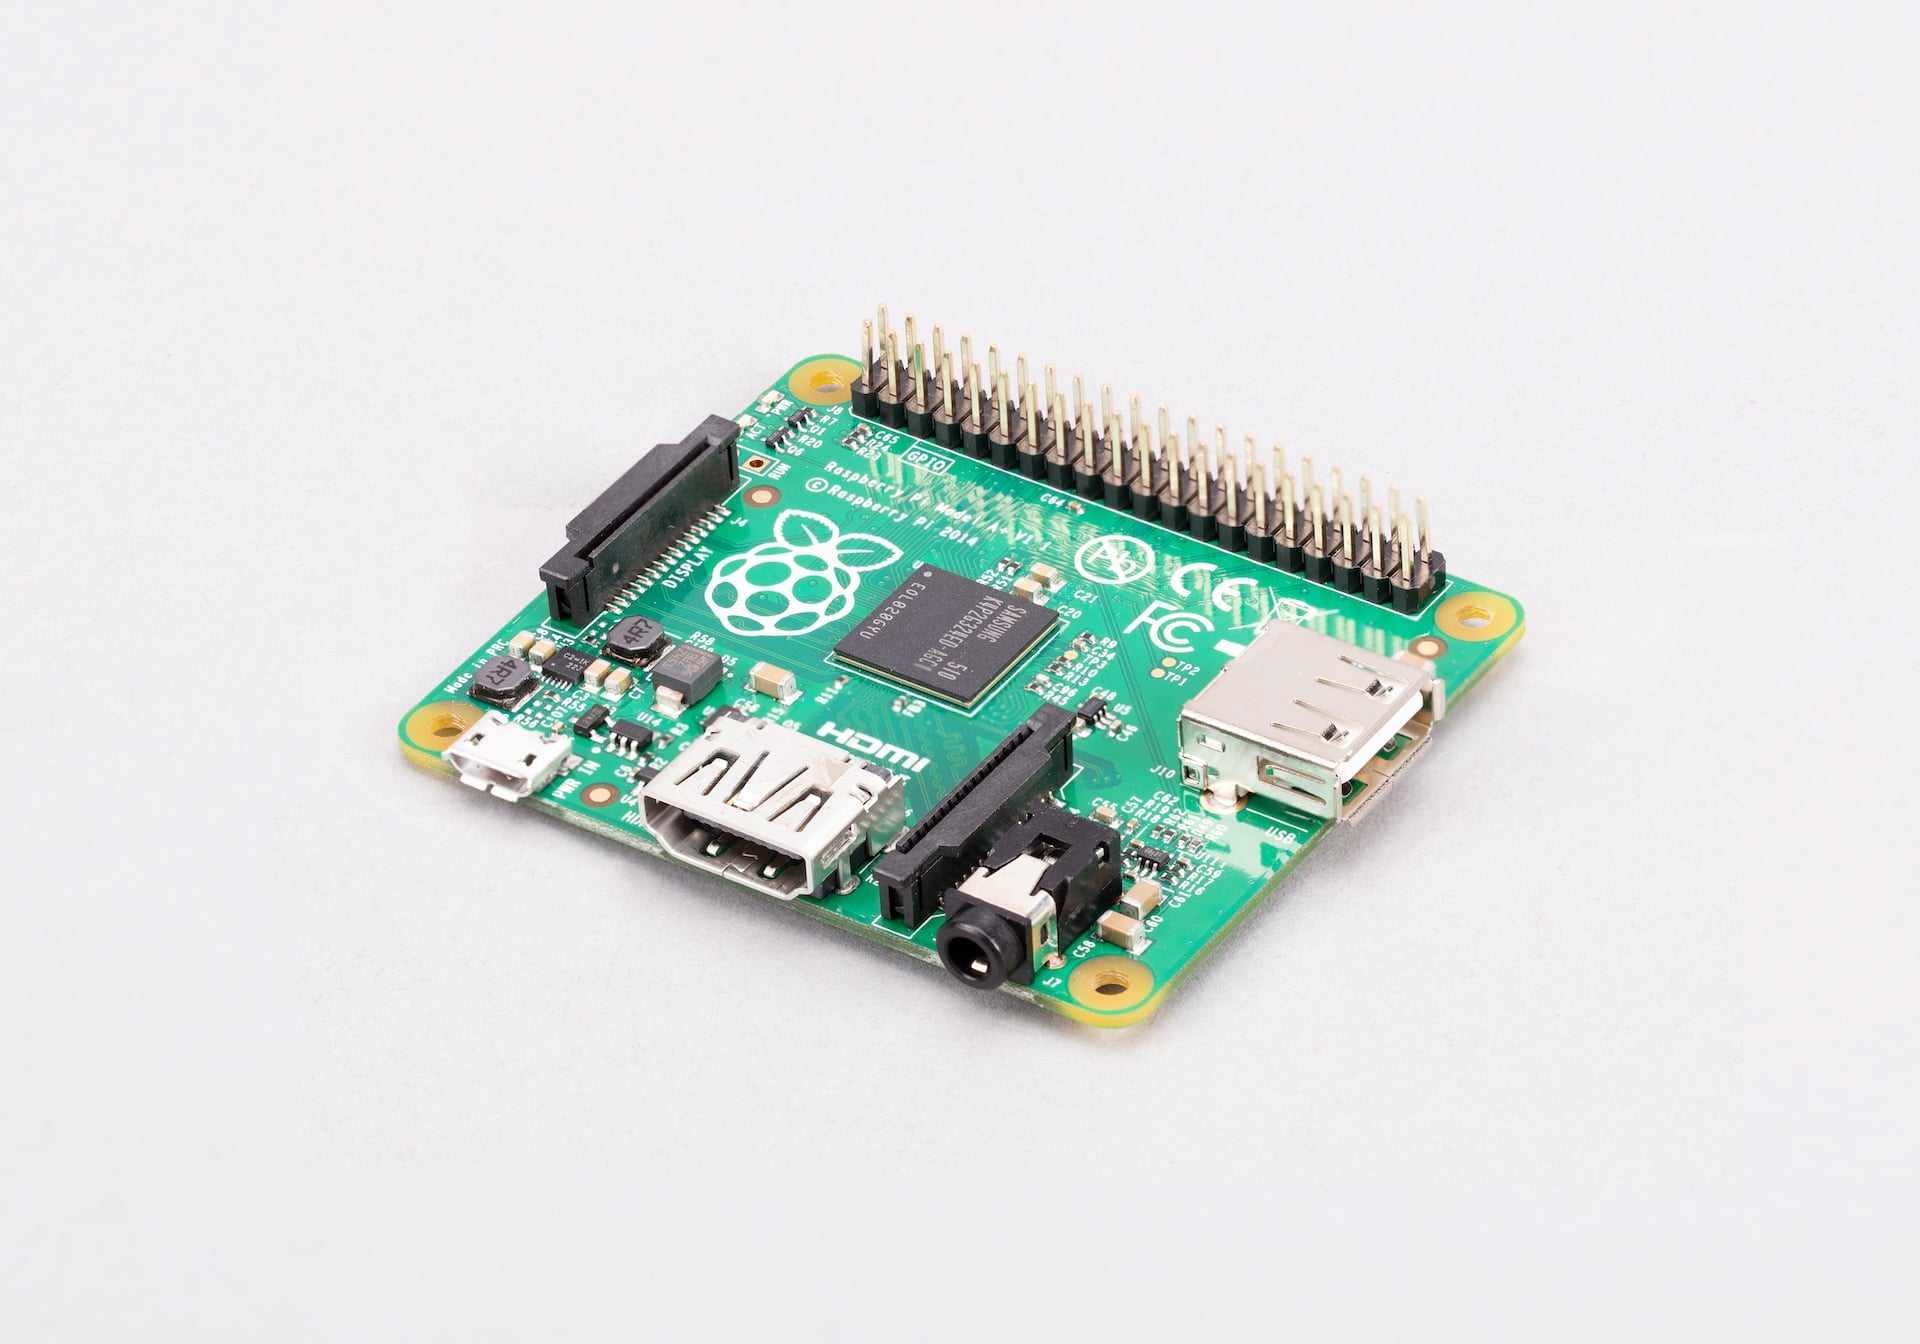
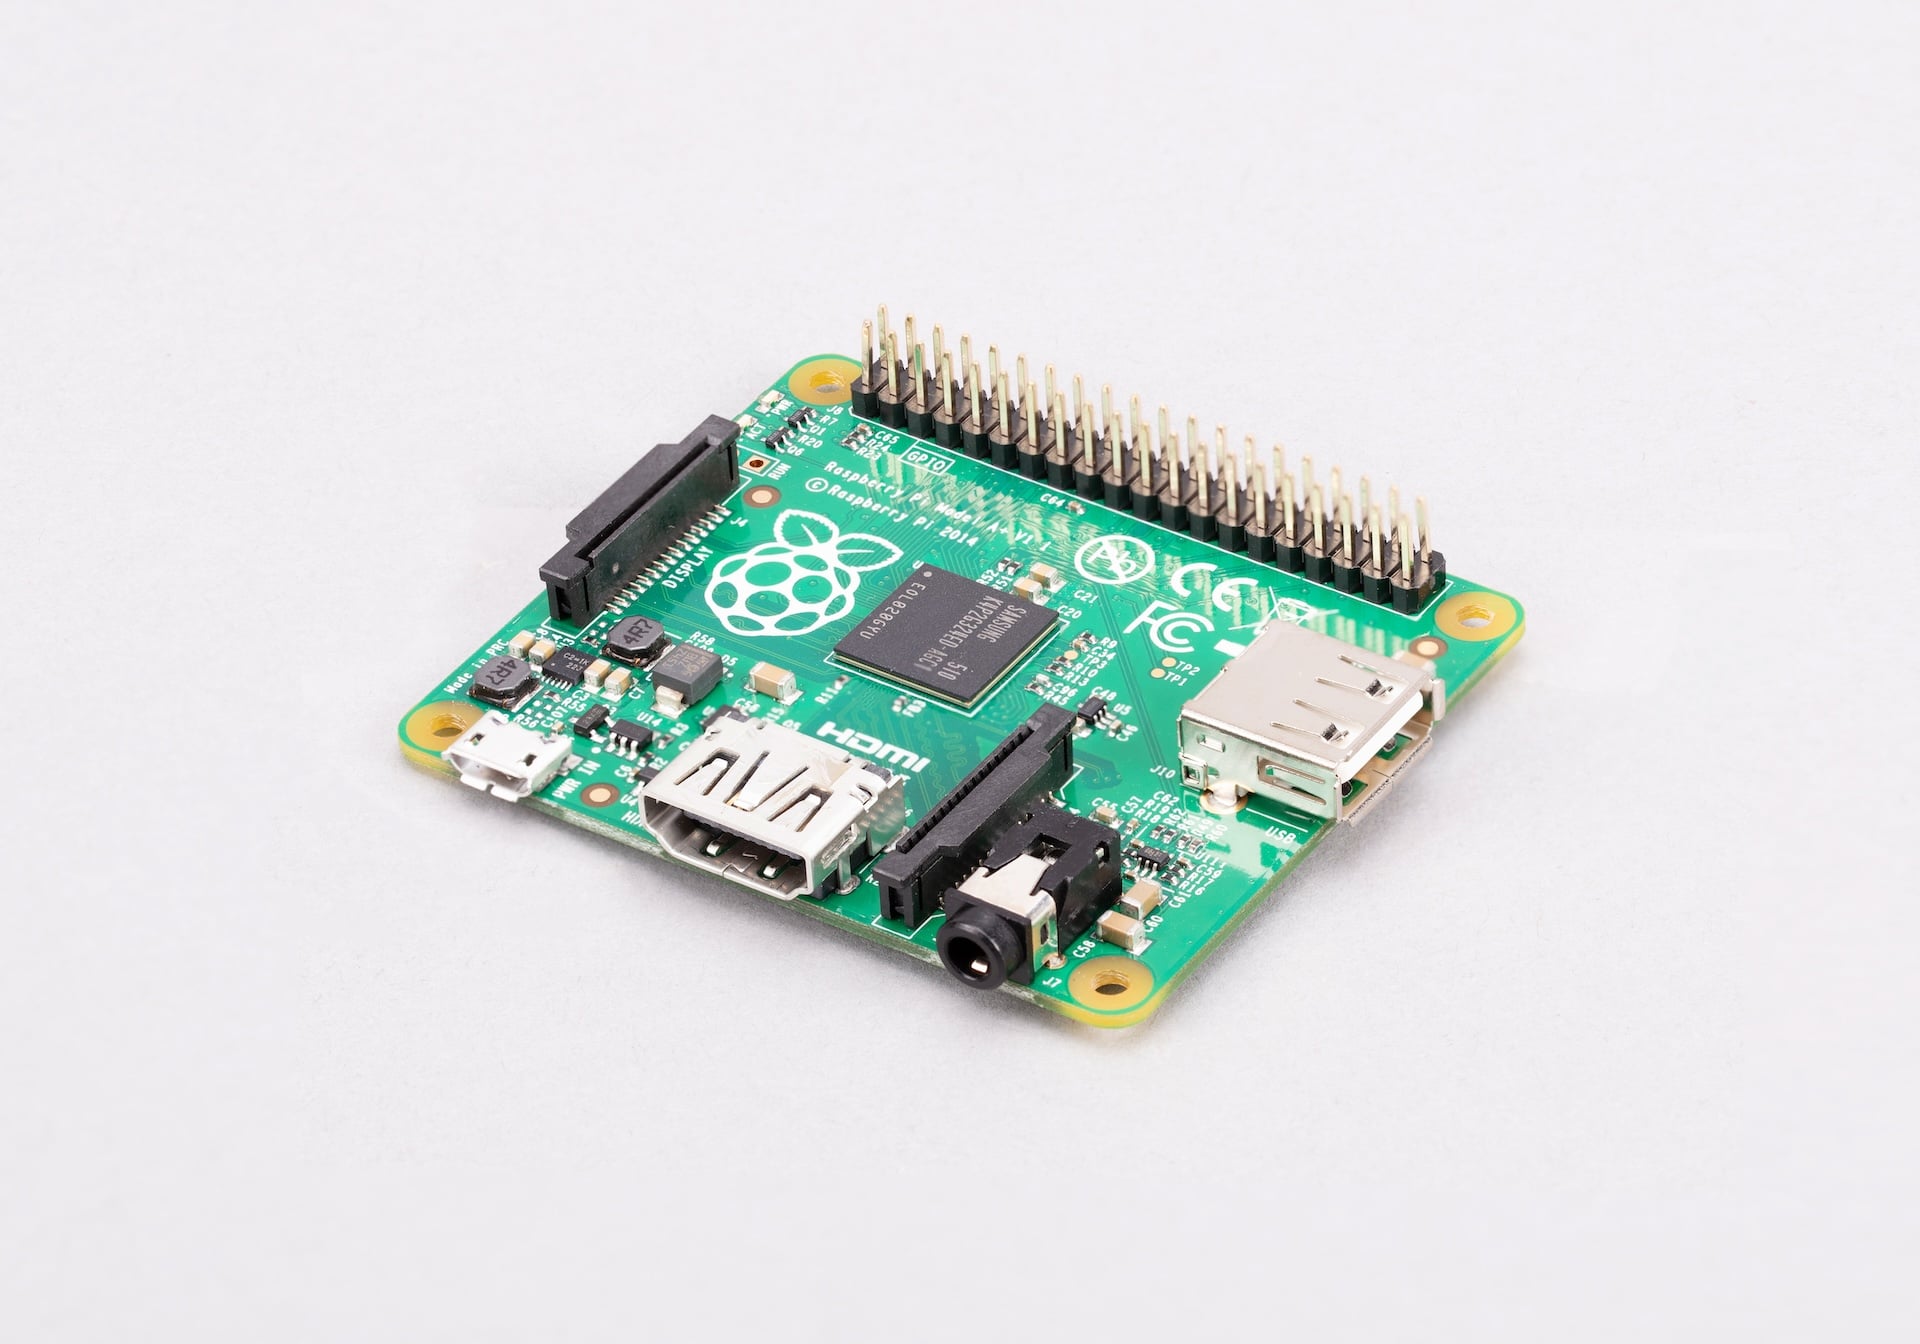
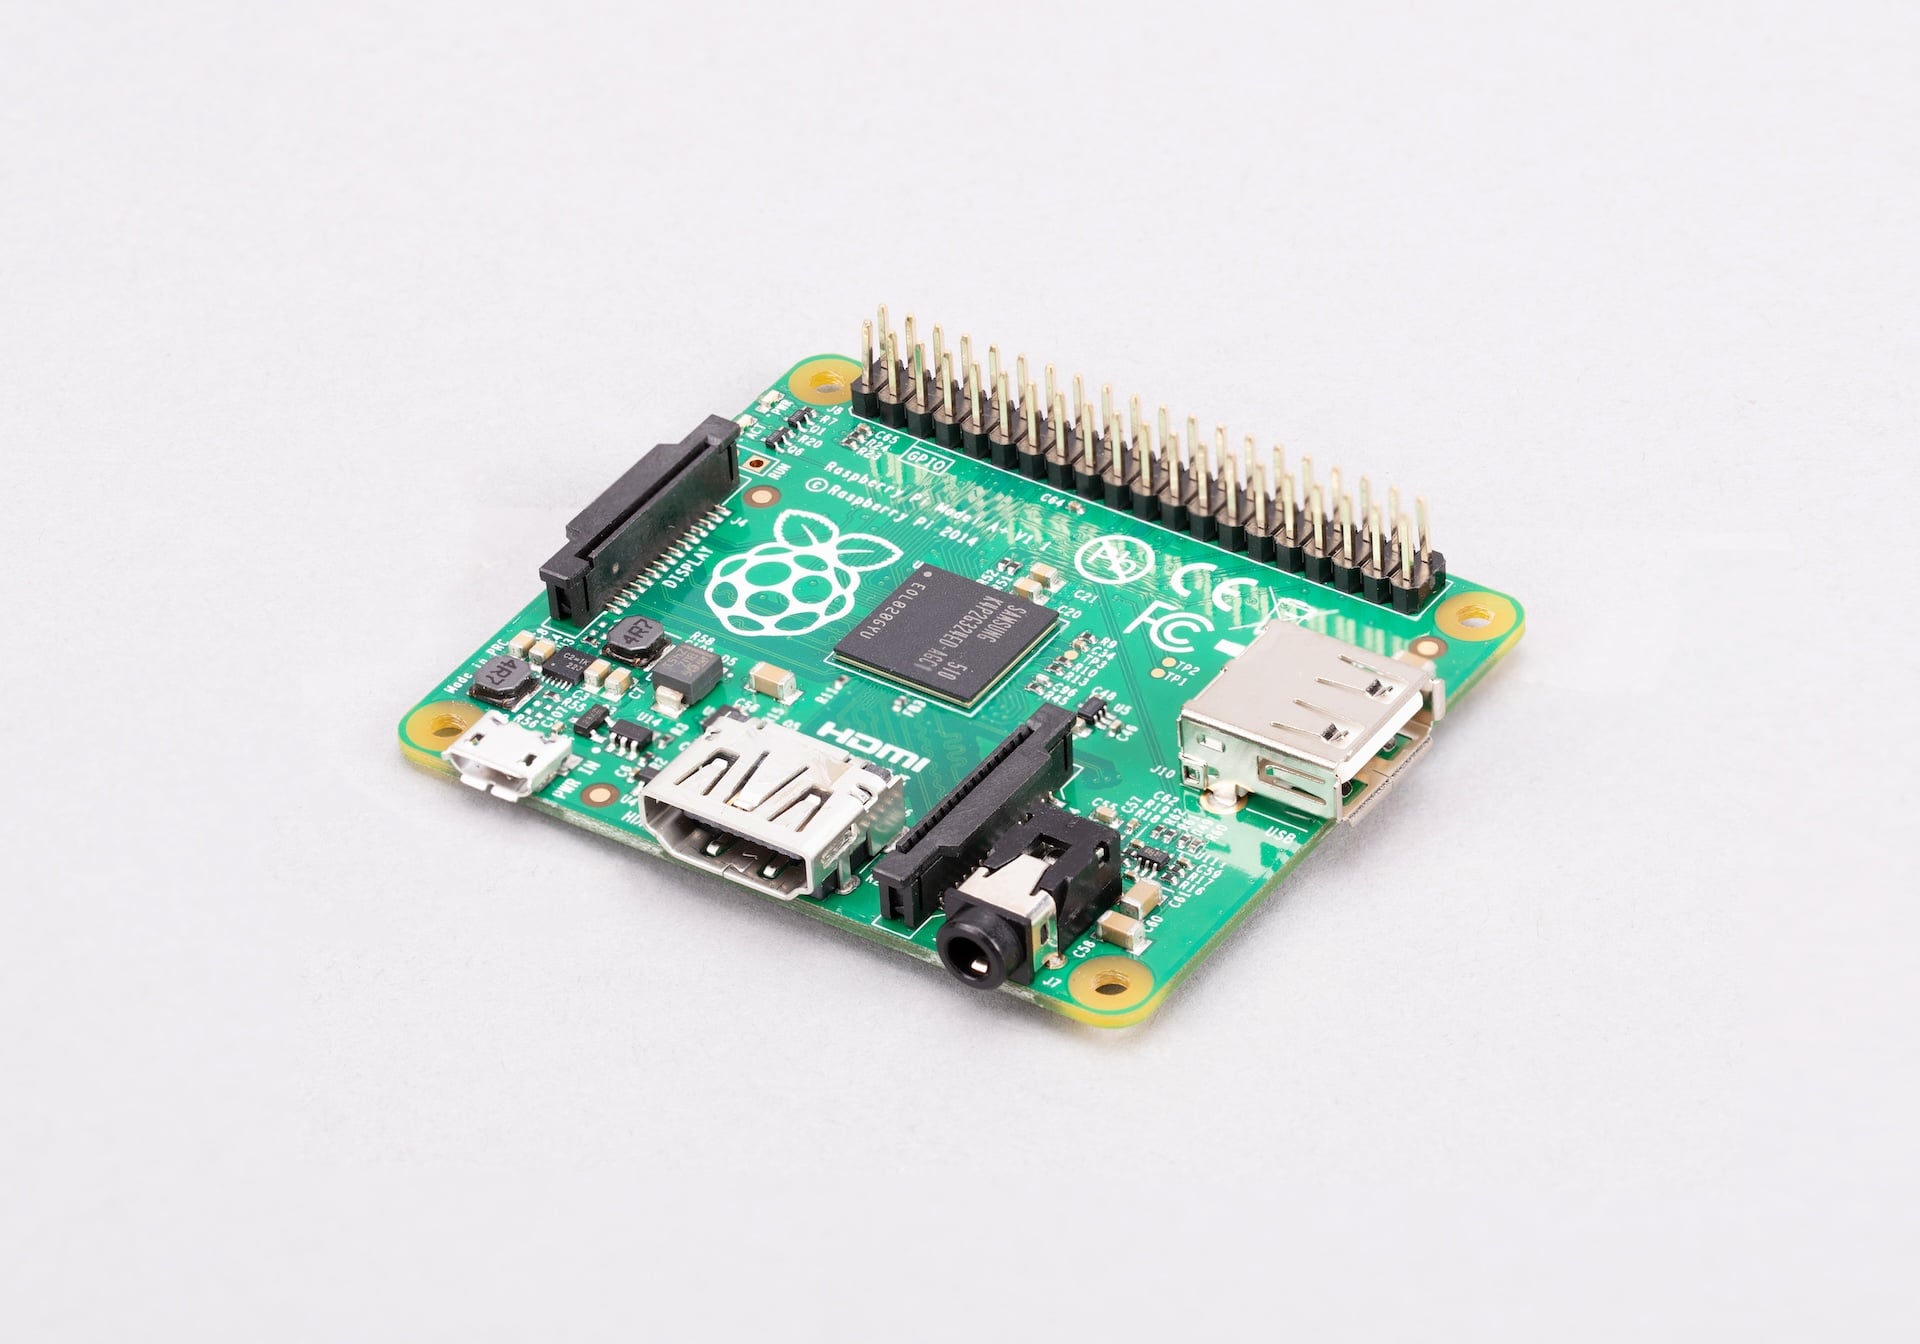
Raspberry Pi 1 Model A+
Image Gallery
Overview
The Raspberry Pi 1 Model A+, released in November 2014, is the compact and lower-cost variant of the Raspberry Pi 1 Model B+. It uses the same BCM2835 processor but includes only 256 MB of RAM (later production runs increased this to 512 MB), a single USB 2.0 port, and no Ethernet connector. This reduces both cost and power consumption significantly.
The Model A+ was the most affordable entry point into the Raspberry Pi ecosystem at its time of release. Without any network connectivity built in, it was designed for embedded and standalone applications where a small form factor, low power draw, and modest cost were the primary concerns. It has since been superseded by the Raspberry Pi Zero family for compact and low-power use cases, but remains a historically notable board.
Key Features
- Broadcom BCM2835 single-core ARM1176JZF-S at 700 MHz
- 256 MB SDRAM (later production runs: 512 MB)
- No Wi-Fi, no Bluetooth, no Ethernet
- 1× USB 2.0 port
- 40-pin GPIO header
- Full-size HDMI output up to 1080p
- Combined 3.5mm audio and composite video jack
- CSI camera connector and DSI display connector
- MicroSD card slot
- Very low power consumption (~200 mA at idle)
- Compact 65×56 mm form factor
Technical Specifications
| Specification | Detail |
|---|---|
| CPU | Broadcom BCM2835, single-core ARM1176JZF-S at 700 MHz |
| RAM | 256 MB SDRAM (512 MB on later production runs) |
| Wi-Fi | None |
| Bluetooth | None |
| Ethernet | None |
| USB | 1× USB 2.0 |
| GPIO | 40-pin header |
| Video Output | 1× full-size HDMI (up to 1080p) |
| Audio Output | 3.5mm audio+composite jack, HDMI audio |
| Camera Interface | 1× CSI connector |
| Display Interface | 1× DSI connector |
| Storage | microSD card slot |
| Power Input | 5V DC via micro-USB, 1A sufficient for typical use |
| Idle Current | ~200 mA (approximately 1W at idle) |
| Dimensions | 65 × 56 mm |
Pinout
The Raspberry Pi 1 Model A+ uses the same 40-pin GPIO header as the Model B+, introduced to standardize Raspberry Pi expansion boards and HATs. The compact board dimensions differ from the Model B, but the GPIO header position and pinout are identical.
Power Pins
Pins 1 and 17 supply 3.3V output. Pins 2 and 4 supply 5V. Ground pins are at positions 6, 9, 14, 20, 25, 30, 34, and 39.
GPIO Pins
All GPIO pins operate at 3.3V logic levels. The BCM2835 is not 5V tolerant on GPIO pins. Use a level shifter when connecting to 5V peripherals.
Communication Interfaces
| Interface | Pins | Notes |
|---|---|---|
| SPI0 | GPIO 9, 10, 11, 8, 7 | MISO, MOSI, SCLK, CE0, CE1 |
| I2C1 | GPIO 2, 3 | SDA, SCL |
| UART0 | GPIO 14, 15 | TX, RX — hardware UART |
| I2S | GPIO 18, 19, 20, 21 | PCM audio interface |
| PWM | GPIO 12, 13, 18, 19 | Hardware PWM channels |
Power
The Raspberry Pi 1 Model A+ is notable for its extremely low power consumption. With no Ethernet controller and no USB hub chip, its idle current is approximately 200 mA at 5V — around 1 watt. This makes it well-suited for battery-powered or solar-powered deployments.
| Power Method | Detail |
|---|---|
| Micro-USB | 5V / 1A sufficient for typical operation |
| GPIO 5V Pins | 5V direct input — bypasses polyfuse protection |
| Estimated Idle Power | ~1W (200 mA at 5V) |
On-Board Components
| Component | Description |
|---|---|
| BCM2835 SoC | Single-core ARM1176JZF-S 700 MHz with VideoCore IV GPU |
| 256 MB SDRAM | RAM (separate package; 512 MB on later revisions) |
| HDMI port | Full-size HDMI A output |
| CSI connector | 15-pin camera ribbon connector |
| DSI connector | 15-pin display ribbon connector |
| 3.5mm jack | Combined audio out and composite video output |
| microSD slot | Push-push card slot for OS and storage |
Getting Started
What You Need
- Raspberry Pi 1 Model A+
- MicroSD card (4 GB minimum)
- 5V/1A micro-USB power supply
- HDMI cable and monitor
- USB keyboard
- USB hub (optional, if you need multiple USB devices simultaneously)
Step 1 — Flash the OS
Download Raspberry Pi Imager on a separate computer. Flash a compatible OS image to the microSD card. Use Raspberry Pi OS Legacy (Bullseye, 32-bit) for best ARMv6 compatibility.
Step 2 — First Boot
Insert the microSD card into the slot on the underside of the board. Connect the HDMI cable and USB keyboard, then plug in the micro-USB power supply. The Pi boots automatically.
Step 3 — Initial Configuration
Run sudo raspi-config on first boot to configure locale, timezone, SSH access, and expand the filesystem to fill the microSD card.
Step 4 — GPIO Blink Example
Connect an LED with a 330Ω resistor between GPIO 18 (pin 12) and a ground pin. Run the following Python script:
Programming
Python
Python is the primary language for Raspberry Pi projects. The RPi.GPIO library works on the Pi 1 Model A+. Use Python 3 where possible, though some ARMv6-specific builds may lag behind the latest release.
C and C++
C and C++ are ideal for the Pi 1's constrained resources. GCC is available on Raspberry Pi OS. Programs compiled for ARMv6 run natively without any additional setup.
Scratch
Scratch 1.4 is available on Raspberry Pi OS Legacy. The 256 MB RAM variant may struggle with memory-intensive applications; the 512 MB variant performs better for desktop use.
Applications
- Battery-powered or solar-powered sensor node
- Always-on lightweight server (log aggregator, MQTT broker)
- Embedded controller with minimal power budget
- Learning GPIO and embedded Linux concepts
- Camera trap or remote sensor with Pi Camera
- Standalone data logger
Where to Buy
- Available secondhand on eBay and electronics surplus markets
Equivalent Boards
| Board | Key Difference |
|---|---|
| Raspberry Pi Zero W | Same ARMv6 CPU, smaller, built-in Wi-Fi, micro-USB OTG — more capable compact option |
| Raspberry Pi Zero 2 W | Faster quad-core CPU, Wi-Fi, same compact philosophy |
| Raspberry Pi 1 Model B+ | Same CPU and RAM, but larger with 4× USB and Ethernet |
Documentation
Notes
- The Raspberry Pi 1 Model A+ is compatible with all standard 40-pin Raspberry Pi HATs. Its smaller board dimensions (65×56 mm) match those of the Model A+ form factor, so some larger HATs may overhang the board slightly — always check HAT dimensions.
- With only 1 USB port, connecting both a keyboard and a USB Wi-Fi dongle requires a USB hub. Alternatively, configure the system headlessly over serial console.
- The BCM2835 uses the ARMv6 instruction set, which is not supported by many modern Linux distributions. Stick to Raspberry Pi OS Legacy for full software compatibility.
- The ~200 mA idle current draw makes this an excellent choice for low-power embedded projects. With the HDMI output disabled (tvservice -o) and USB unused, power consumption drops further.
- Later production runs of the Pi 1 Model A+ shipped with 512 MB of RAM; earlier units have 256 MB. Check the board revision using cat /proc/cpuinfo.
Community
- Raspberry Pi Forums — official community
- r/raspberry_pi (Reddit) — share projects
- Raspberry Pi Discord — real-time chat
Revision History
| Version | Date | Notes |
|---|---|---|
| v1.0 | 2026-06 | Initial entry |