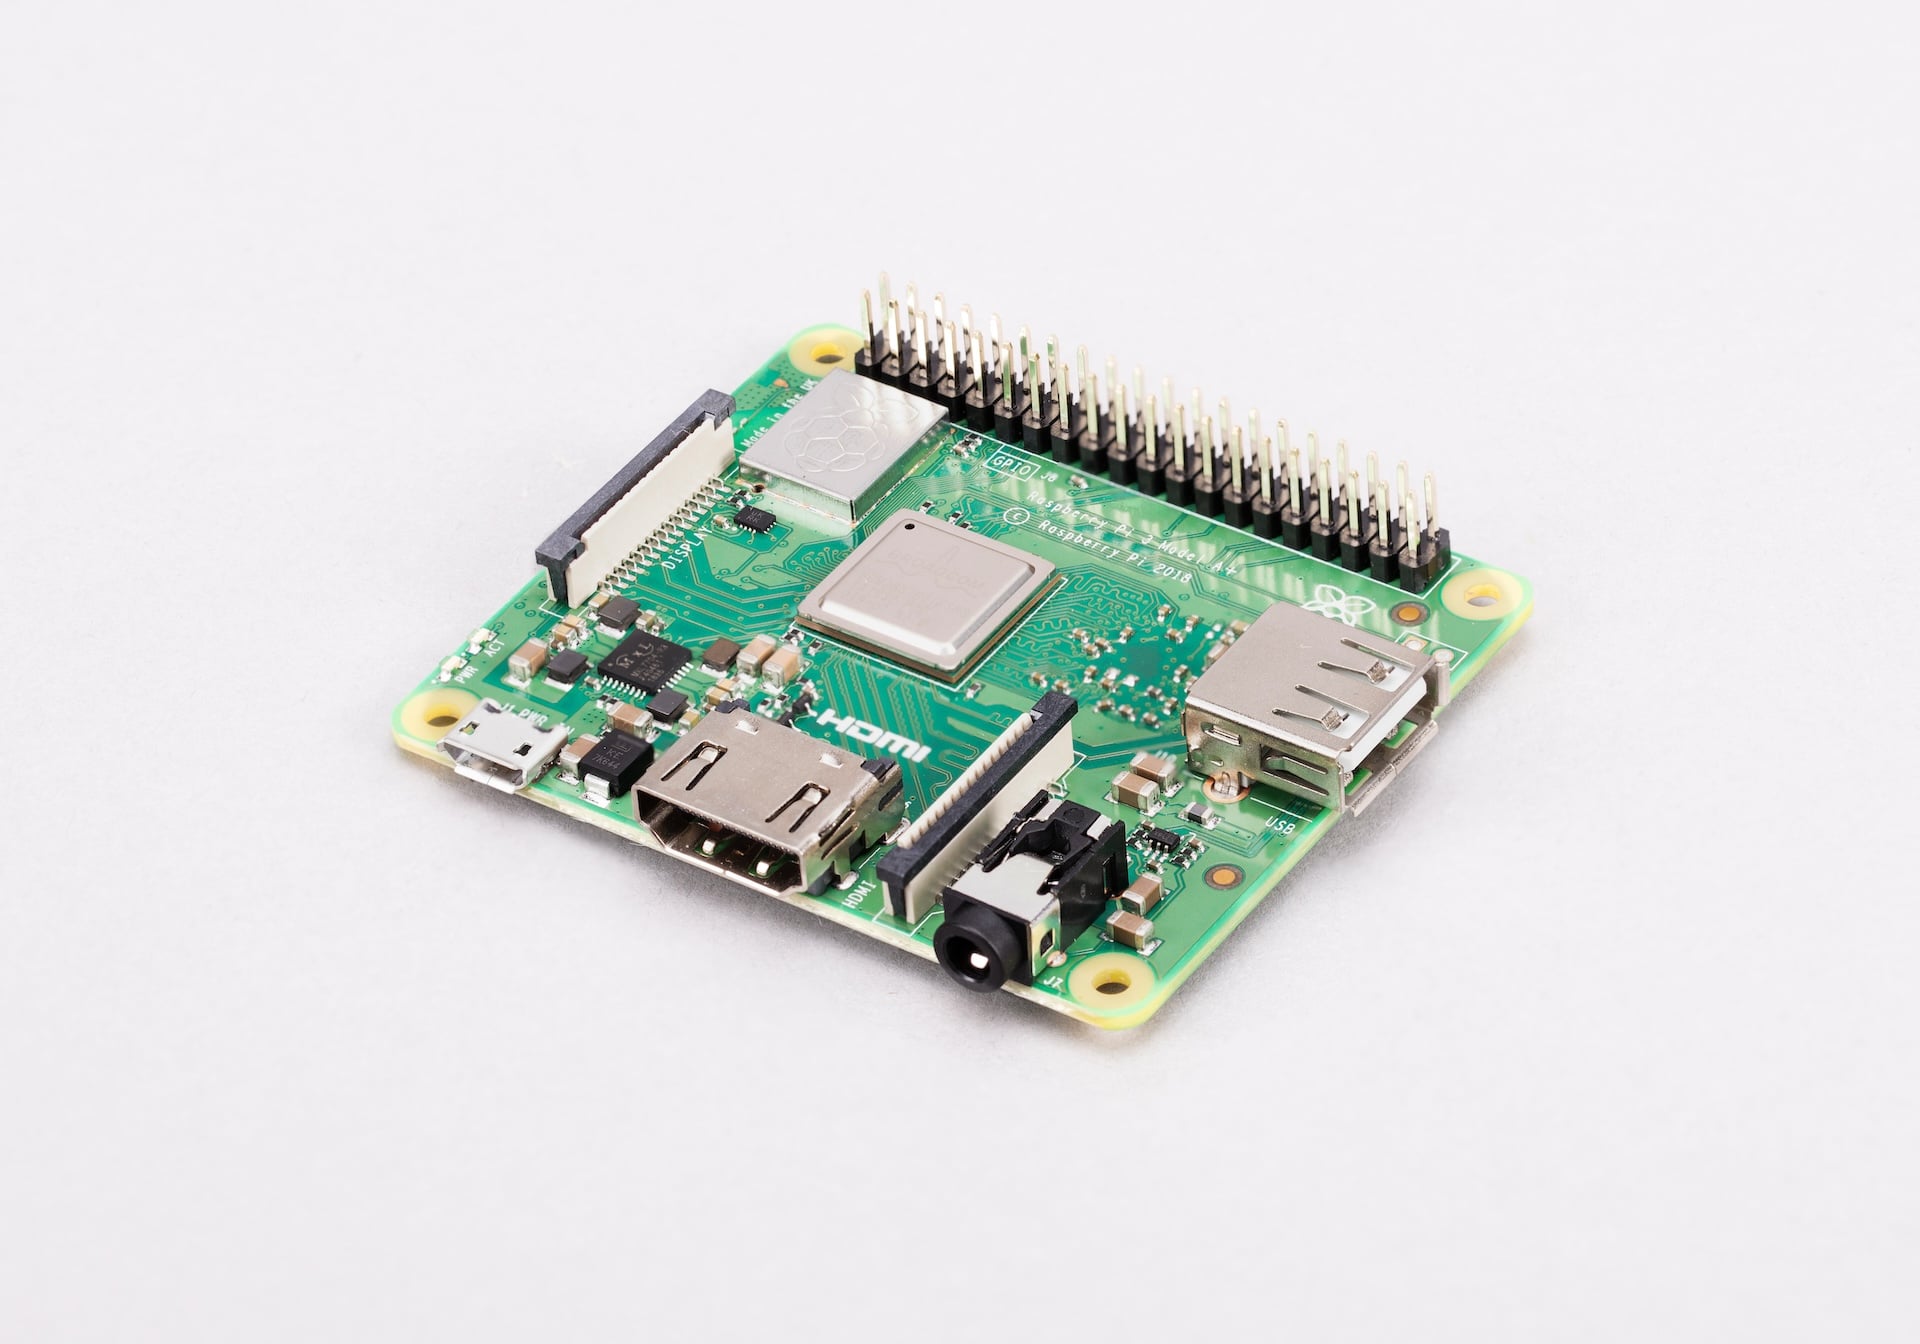
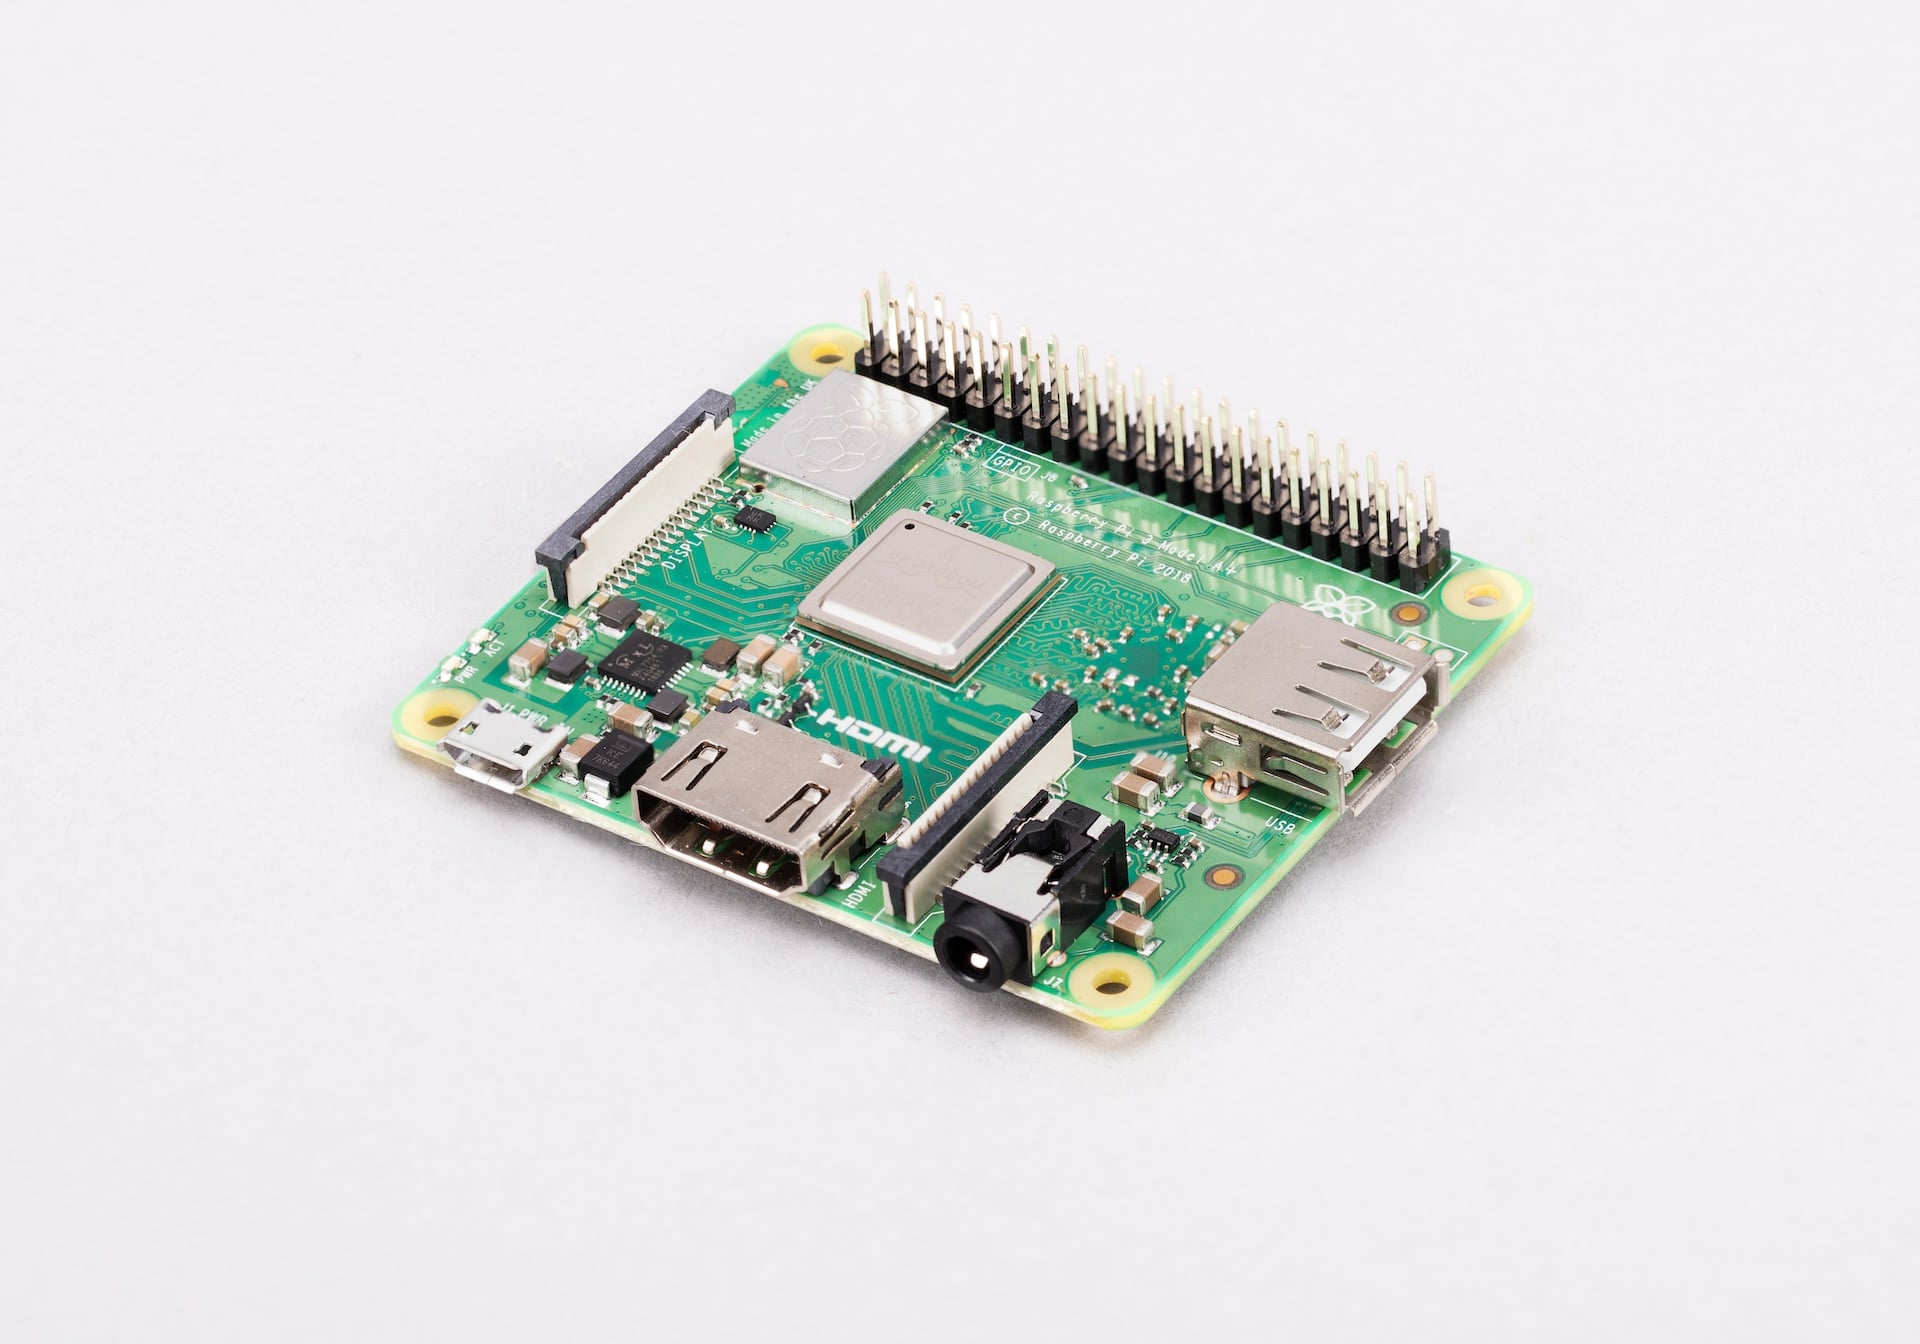
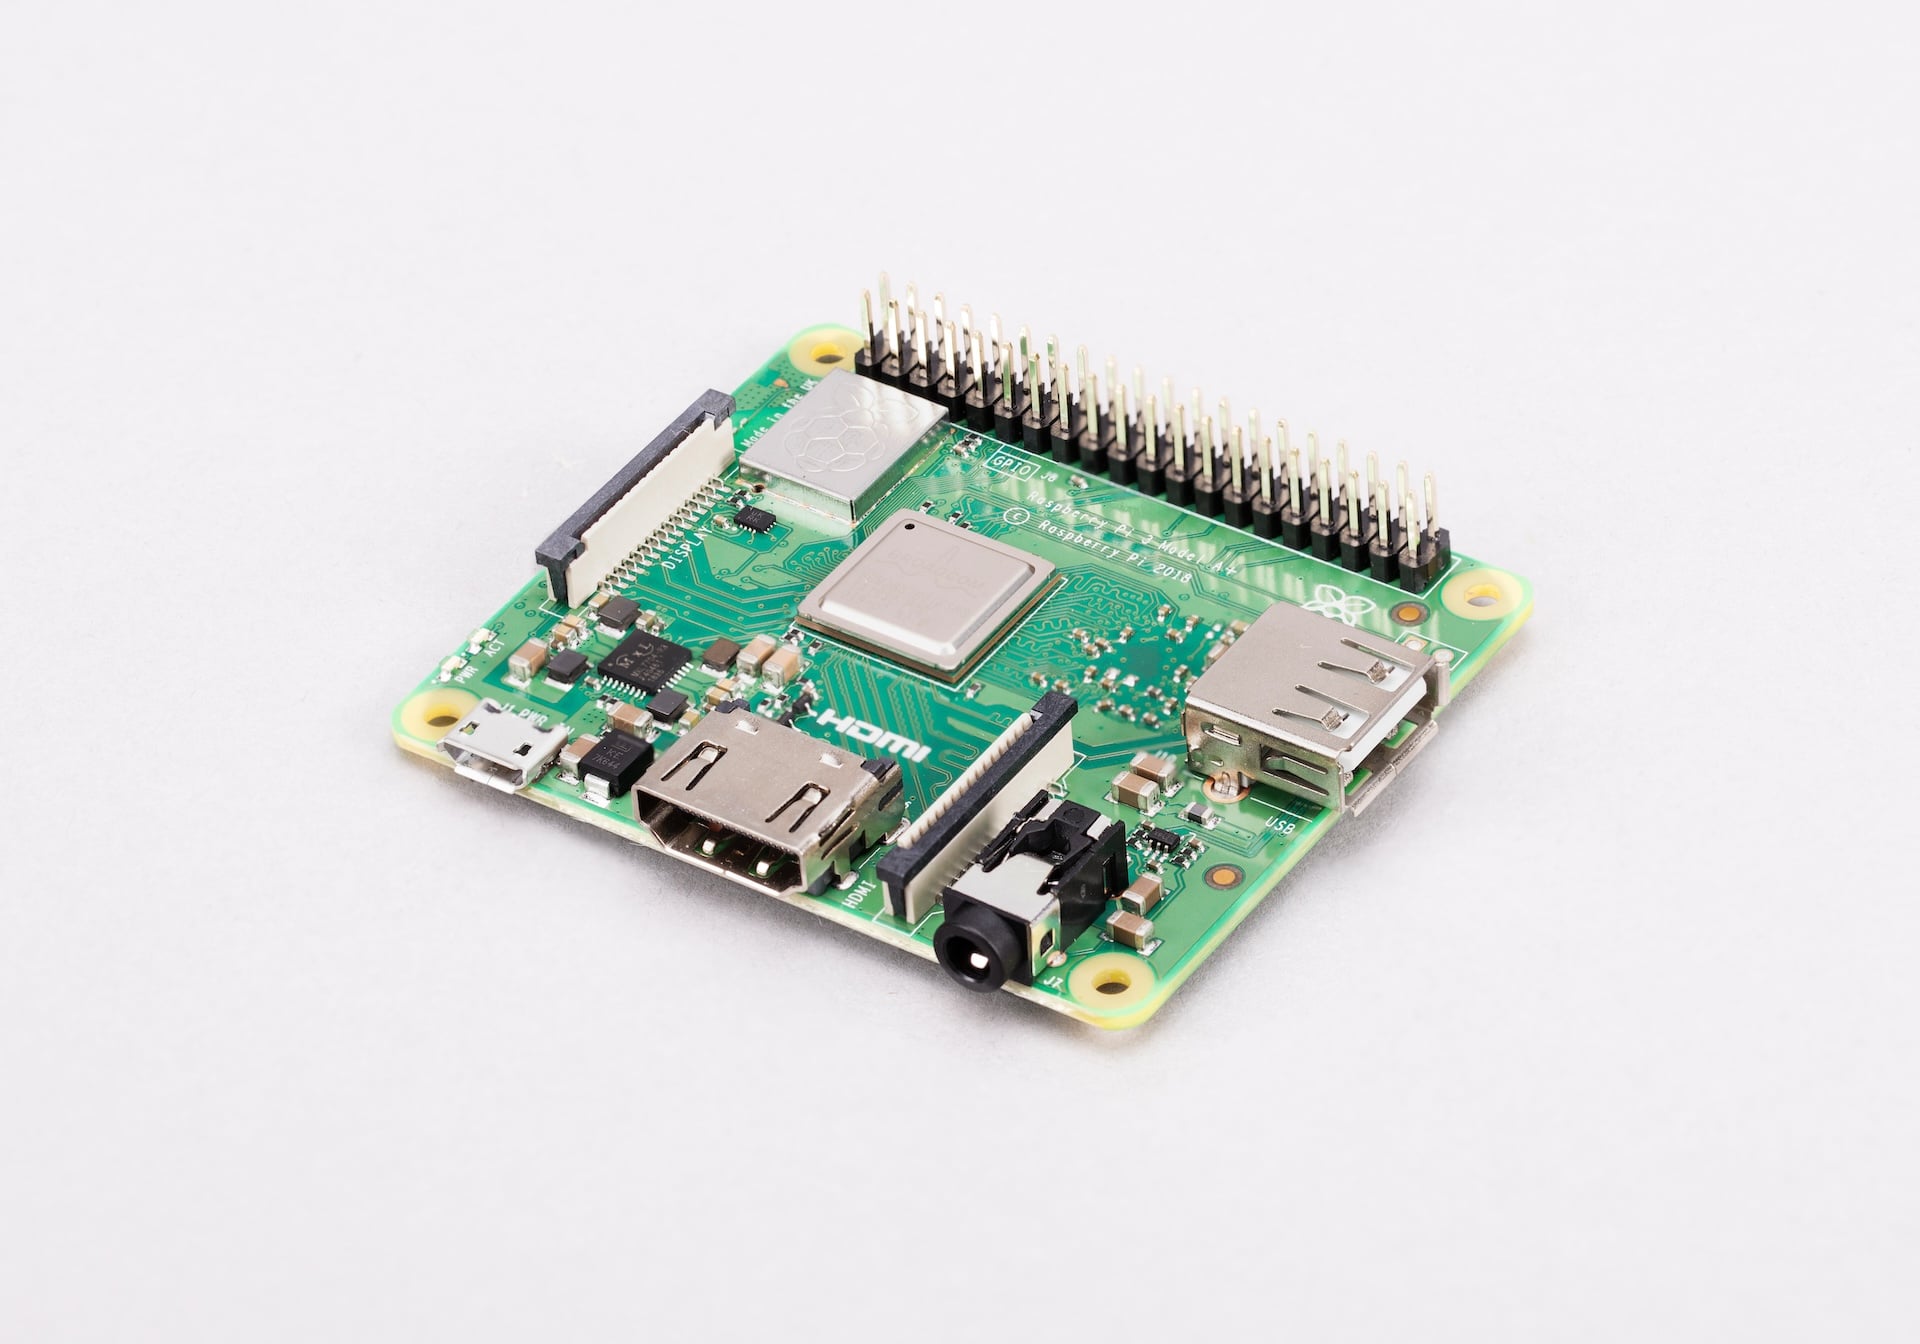
Raspberry Pi 3 Model A+
Image Gallery
Overview
The Raspberry Pi 3 Model A+, released in November 2018, is the compact and lower-cost sibling of the Raspberry Pi 3 Model B+. It shares the same BCM2837B0 processor running at 1.4 GHz and the same dual-band Wi-Fi and Bluetooth 4.2 as the 3B+, but trades Ethernet, three USB ports, and half of the RAM for a smaller 65×56 mm footprint and a lower price.
The Model A+ form factor is aimed at embedded and wireless-first projects where board size and cost matter more than connectivity. With no Ethernet port and only a single USB 2.0 port, it is best suited for headless deployments that communicate over Wi-Fi.
Key Features
- Broadcom BCM2837B0 quad-core ARM Cortex-A53 at 1.4 GHz (same chip as 3B+)
- 512 MB LPDDR2 SDRAM
- Dual-band 802.11 b/g/n/ac Wi-Fi (2.4 GHz and 5 GHz)
- Bluetooth 4.2 with BLE
- No Ethernet port
- 1× USB 2.0 port
- 40-pin GPIO header
- Full-size HDMI output up to 1080p
- Combined 3.5mm audio and composite video jack
- CSI camera connector and DSI display connector
- MicroSD card slot
- Compact 65×56 mm form factor — smaller than Model B boards
- Lower power consumption than Raspberry Pi 3 Model B+
Technical Specifications
| Specification | Detail |
|---|---|
| CPU | Broadcom BCM2837B0, quad-core ARM Cortex-A53 at 1.4 GHz |
| RAM | 512 MB LPDDR2 SDRAM |
| Wi-Fi | 802.11 b/g/n/ac dual-band (2.4 GHz + 5 GHz) |
| Bluetooth | Bluetooth 4.2, BLE |
| Ethernet | None |
| USB | 1× USB 2.0 |
| GPIO | 40-pin header |
| Video Output | 1× full-size HDMI (up to 1080p) |
| Audio Output | 3.5mm audio+composite jack, HDMI audio |
| Camera Interface | 1× CSI connector |
| Display Interface | 1× DSI connector |
| Storage | microSD card slot |
| Power Input | 5V DC via micro-USB, 2.5A recommended |
| Dimensions | 65 × 56 mm |
Pinout
The Raspberry Pi 3 Model A+ uses the standard 40-pin GPIO header shared with the Model B series. The pinout is identical to all Raspberry Pi boards using this header.
Power Pins
Pins 1 and 17 output 3.3V. Pins 2 and 4 output 5V. Ground is available on pins 6, 9, 14, 20, 25, 30, 34, and 39.
GPIO Pins
All GPIO pins operate at 3.3V logic. Connecting 5V signals directly to GPIO pins may damage the processor.
Communication Interfaces
| Interface | Pins | Notes |
|---|---|---|
| SPI0 | GPIO 9, 10, 11, 8, 7 | MISO, MOSI, SCLK, CE0, CE1 |
| I2C1 | GPIO 2, 3 | SDA, SCL |
| UART0 | GPIO 14, 15 | TX, RX — shared with Bluetooth |
| I2S | GPIO 18, 19, 20, 21 | PCM audio |
| PWM | GPIO 12, 13, 18, 19 | Hardware PWM |
Power
The Raspberry Pi 3 Model A+ consumes less power than the 3B+ due to the absence of the Ethernet/USB hub controller. A 5V/2.5A micro-USB supply is recommended for full performance under load.
| Power Method | Detail |
|---|---|
| Micro-USB | 5V / 2.5A recommended |
| GPIO 5V Pins | 5V direct input — bypasses polyfuse protection |
On-Board Components
| Component | Description |
|---|---|
| BCM2837B0 SoC | Quad-core 1.4 GHz Cortex-A53 with integrated heatspreader |
| 512 MB LPDDR2 | RAM (half the capacity of the 3B+) |
| CYW43455 | Dual-band Wi-Fi + Bluetooth 4.2 combo chip |
| HDMI port | Full-size HDMI video output |
| CSI connector | Camera ribbon cable connector |
| DSI connector | Display ribbon cable connector |
| 3.5mm jack | Audio and composite video output |
| microSD slot | Storage and OS |
Wireless Connectivity
The 3 Model A+ shares the same CYW43455 dual-band Wi-Fi and Bluetooth 4.2 module as the 3B+, making it the most capable wireless option in the compact Model A form factor.
| Wireless Feature | Detail |
|---|---|
| Wi-Fi Standard | 802.11 b/g/n/ac |
| Frequency Bands | 2.4 GHz and 5 GHz |
| Bluetooth Version | 4.2 |
| Bluetooth Modes | Classic and BLE |
| RF Module | Cypress CYW43455 |
Getting Started
What You Need
- Raspberry Pi 3 Model A+
- MicroSD card (8 GB minimum, Class 10 recommended)
- 5V/2.5A micro-USB power supply
- HDMI cable and monitor (for initial setup)
- USB keyboard (or configure Wi-Fi headlessly)
Step 1 — Flash the OS
Download Raspberry Pi Imager. Use the Advanced Options (gear icon) to pre-configure Wi-Fi credentials and enable SSH for headless use. Flash Raspberry Pi OS to the microSD card.
Step 2 — First Boot
Insert the microSD card, connect HDMI and a USB keyboard (or boot headlessly via SSH), then apply power. The Pi boots automatically.
Step 3 — Connect via Wi-Fi or SSH
If set up headlessly, connect to the Pi via SSH: ssh pi@raspberrypi.local. On first boot with a display, follow the setup wizard to configure locale and Wi-Fi.
Step 4 — GPIO Blink Example
Connect an LED with a 330Ω resistor between GPIO 18 and a ground pin. Run the following Python script:
Programming
Python
Python 3 is pre-installed on Raspberry Pi OS. The RPi.GPIO and gpiozero libraries provide GPIO access. Python is the recommended language for beginners and rapid prototyping.
C and C++
C and C++ offer better performance for compute-intensive tasks. GCC is available via sudo apt install gcc.
Scratch
Scratch 3 is available in the full Raspberry Pi OS desktop version, though the 512 MB RAM limits multitasking performance.
Applications
- Wireless embedded controller
- Battery-powered IoT sensor node
- Compact media player
- Headless server or data logger
- Robotics and drone controller
- Wearable or enclosure-constrained projects
Where to Buy
- Available from Adafruit, The Pi Hut, and Pimoroni
Equivalent Boards
| Board | Key Difference |
|---|---|
| Raspberry Pi 3 Model B+ | Same CPU, but more RAM (1 GB), Ethernet, 4× USB, larger board |
| Raspberry Pi Zero 2 W | Same CPU core, even smaller, lower cost, but micro-USB only |
| Raspberry Pi 4 Model B | Much more powerful, available in Model B form factor only |
Documentation
Notes
- The Raspberry Pi 3 Model A+ is compatible with all standard 40-pin Raspberry Pi HATs, as it uses the same header layout as the Model B series.
- With only 512 MB of RAM, memory-intensive workloads such as running a desktop browser alongside other applications may be constrained.
- The absence of an Ethernet port means network connectivity relies entirely on Wi-Fi. Ensure a stable 2.4 GHz or 5 GHz network is available.
- Its lower power draw makes the 3A+ a good candidate for solar or battery-powered projects when paired with appropriate power management hardware.
Community
- Raspberry Pi Forums — official community
- r/raspberry_pi (Reddit) — share projects
- Raspberry Pi Discord — real-time chat
Revision History
| Version | Date | Notes |
|---|---|---|
| v1.0 | 2026-06 | Initial entry |