Raspberry Pi 4 Model B
Image Gallery
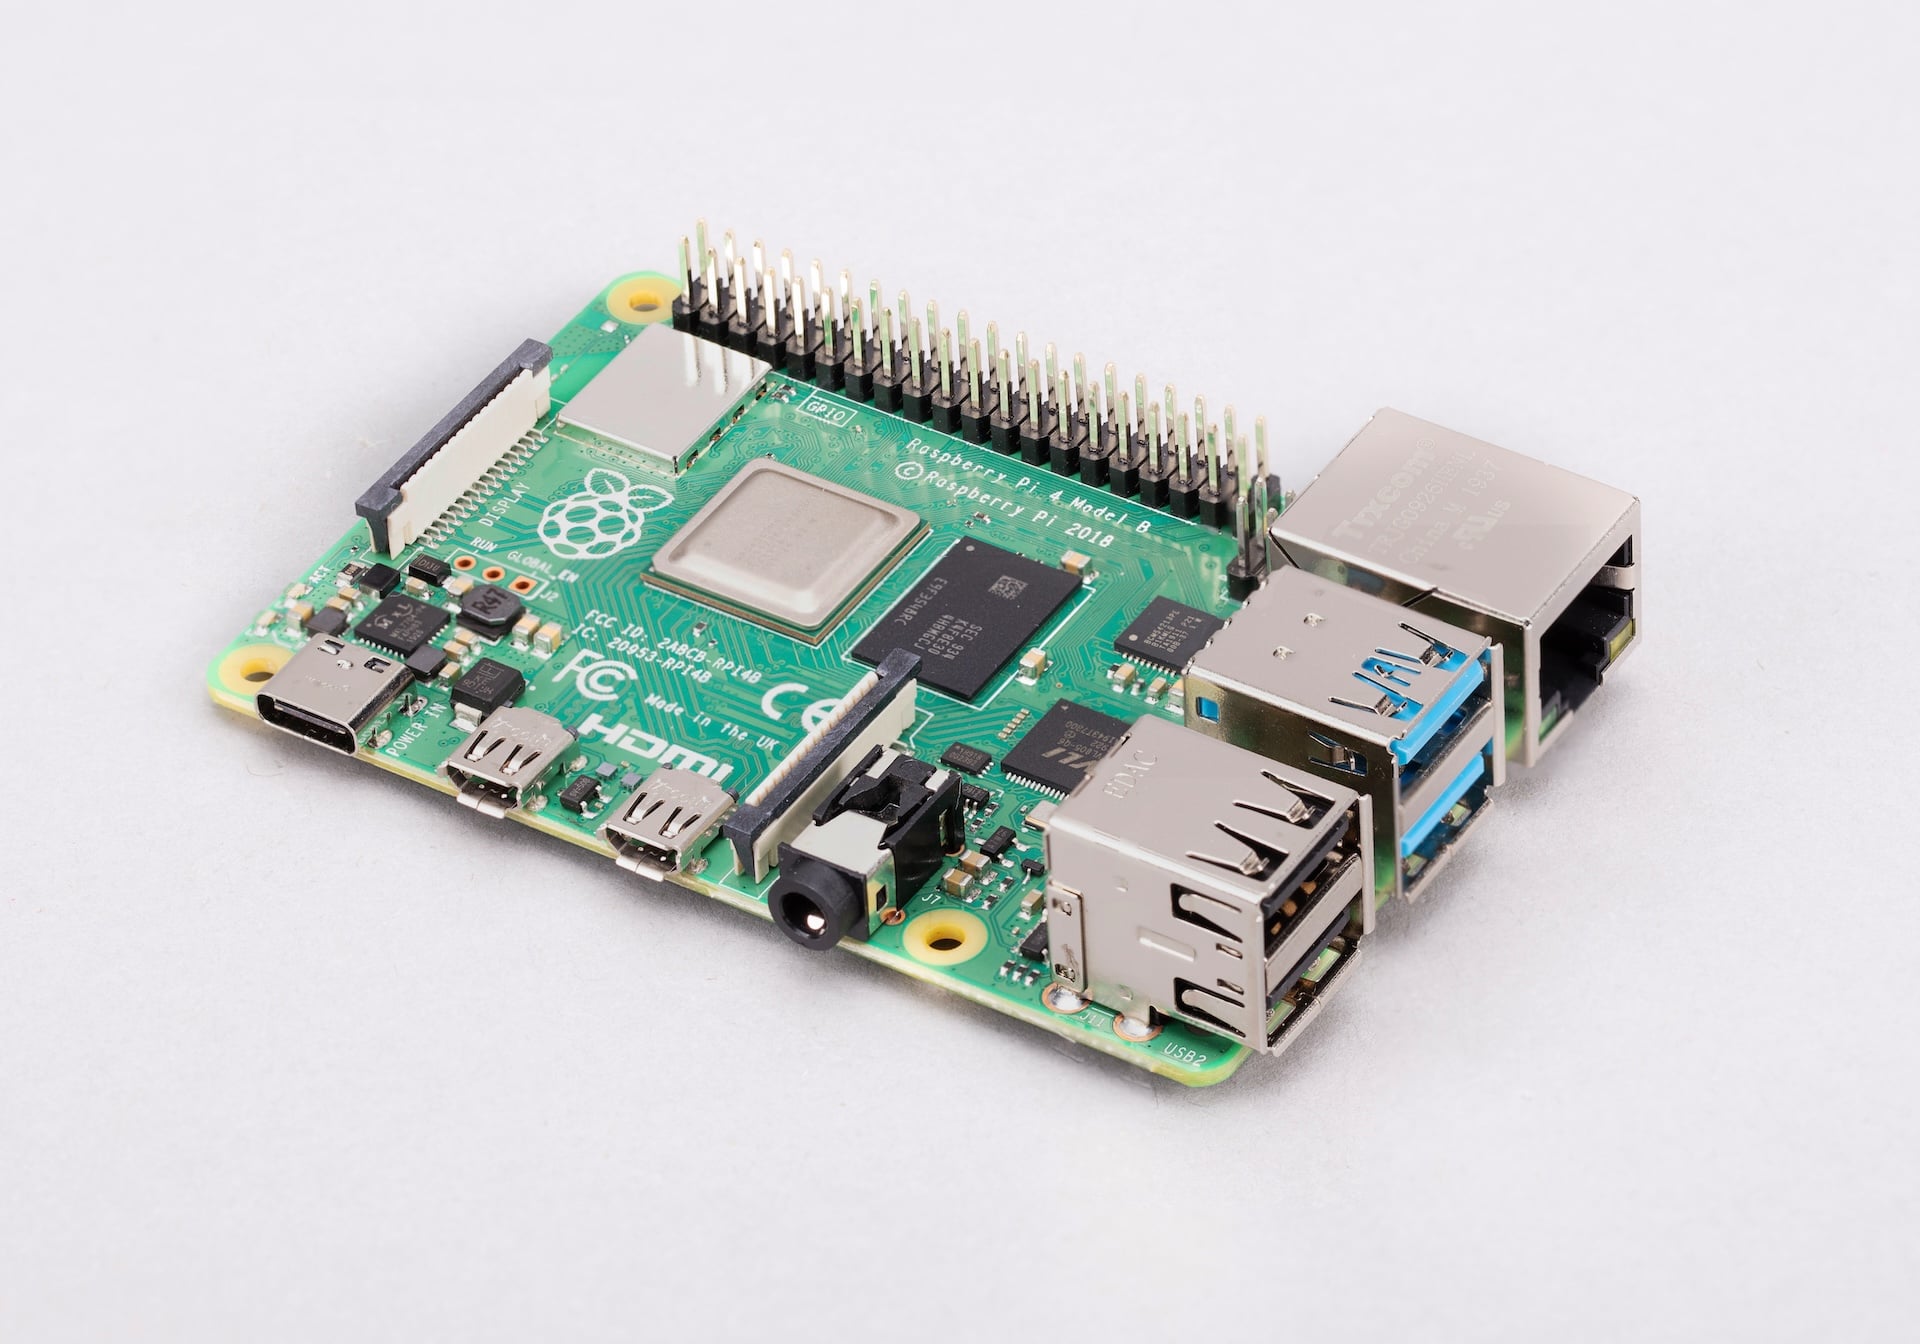
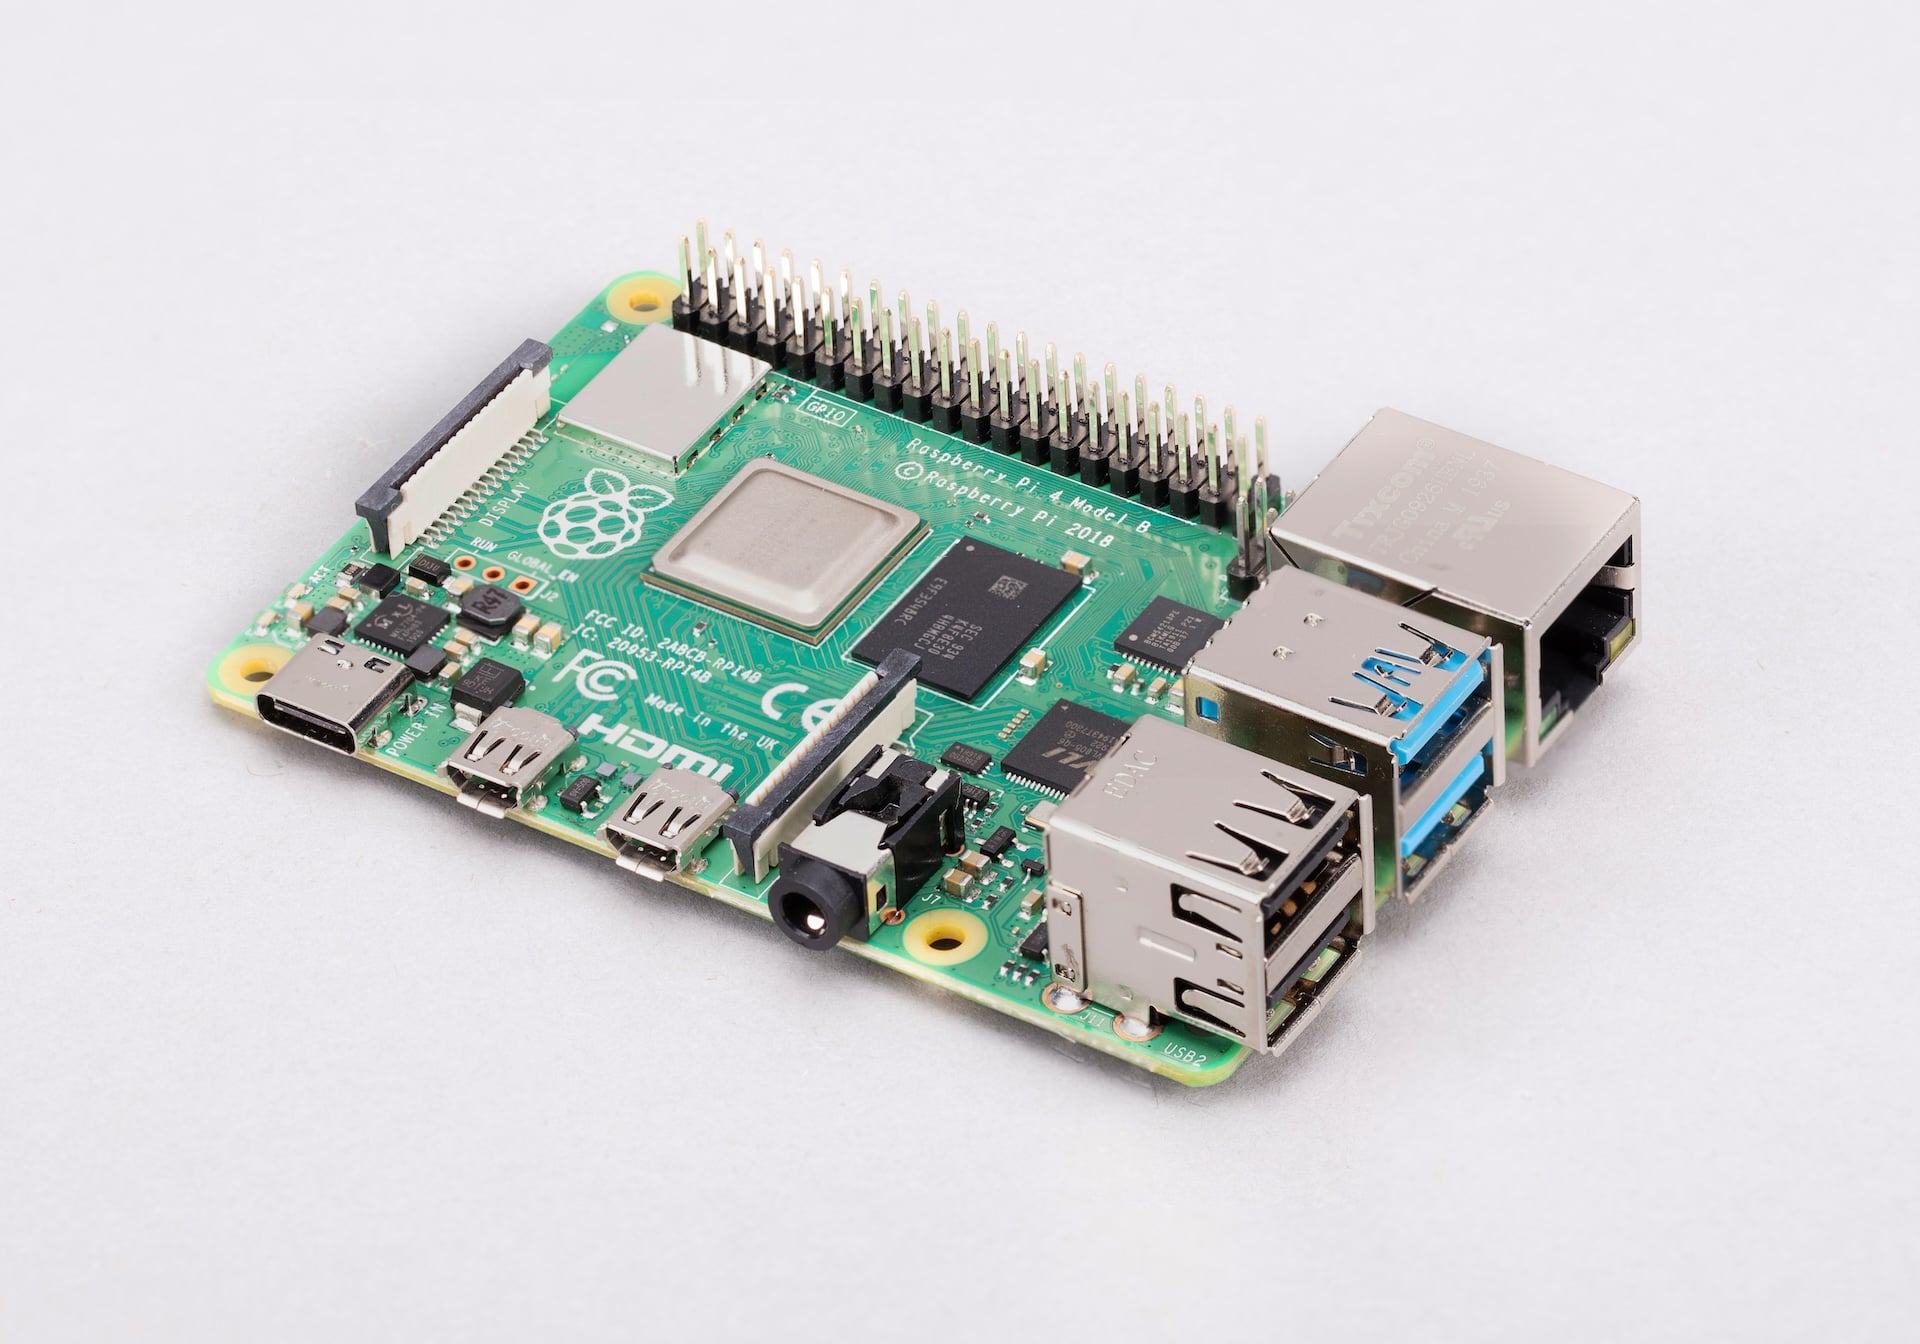
Overview
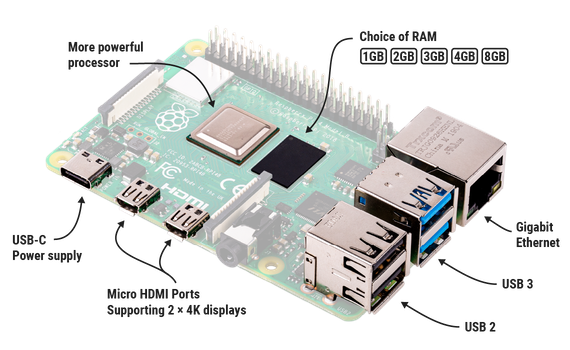
The Raspberry Pi 4 Model B, released in June 2019, was the most significant generational upgrade in the product's history at the time of its launch. It delivered a roughly 2–3× increase in CPU performance over the Pi 3 Model B+ through the move from a Cortex-A53 to a Cortex-A72 architecture, while simultaneously introducing USB 3.0, true Gigabit Ethernet, dual-display output, and — for the first time — options for 2, 4, and later 8 GB of RAM. These changes moved the Raspberry Pi from a single-purpose learning tool firmly into the territory of a capable general-purpose desktop computer.
The BCM2711 SoC brought a PCIe-based USB controller, decoupling USB from the shared Ethernet+USB bus that had bottlenecked previous Pi models. Gigabit Ethernet now ran at close to its rated speed, and USB 3.0 (5 Gbps) ports enabled fast external SSD boot and storage. The 4K-capable VideoCore VI GPU with H.265 decode at 4Kp60 made the Pi 4 viable as a media player. Dual micro-HDMI outputs supported two monitors simultaneously.
Available in 1 GB, 2 GB, 4 GB, and 8 GB variants, the Pi 4 Model B became and remains one of the most popular Raspberry Pi boards ever produced. Even after the release of the Raspberry Pi 5 in 2023, Pi 4 boards remain in production and are widely recommended for projects where cost or lower power draw is a priority.
An early hardware revision of the Pi 4 contained a USB-C power design flaw that caused incompatibility with some "e-marked" USB-C cables. This was corrected in later board revisions (v1.2 and later).
Quick Overview
| Feature | Detail |
|---|---|
| CPU | Broadcom BCM2711, quad-core ARM Cortex-A72 @ 1.5 GHz |
| GPU | VideoCore VI (OpenGL ES 3.1, H.265 4Kp60) |
| RAM | 1 GB, 2 GB, 4 GB, or 8 GB LPDDR4-3200 |
| Video Out | 2× micro-HDMI (4K60 single / dual 4K30) |
| USB | 2× USB 3.0 (5 Gbps) + 2× USB 2.0 |
| GPIO | 40-pin header (3.3V logic) |
| Networking | Gigabit Ethernet + 802.11ac dual-band Wi-Fi + Bluetooth 5.0 BLE |
| Camera/Display | 1× CSI camera connector + 1× DSI display connector |
| Storage | microSD card slot |
| Power | USB-C 5V / 3A |
| Dimensions | 85 × 56 mm |
Key Features
- Broadcom BCM2711 quad-core Cortex-A72 at 1.5 GHz — roughly 3× CPU performance vs Pi 3B+
- Multiple RAM options: 1 GB, 2 GB, 4 GB, or 8 GB LPDDR4-3200
- True Gigabit Ethernet (no longer bottlenecked by USB 2.0)
- 2× USB 3.0 ports at 5 Gbps for fast external storage
- Dual micro-HDMI supporting two 4K monitors simultaneously
- VideoCore VI GPU with H.265 hardware decode at 4Kp60
- Dual-band 802.11ac Wi-Fi and Bluetooth 5.0 BLE
- USB-C power input
- 40-pin GPIO header — HAT compatible
- Camera (CSI) and display (DSI) connectors
Technical Specifications
| Specification | Value |
|---|---|
| SoC | Broadcom BCM2711 |
| CPU | Quad-core ARM Cortex-A72 @ 1.5 GHz |
| GPU | VideoCore VI |
| GPU APIs | OpenGL ES 3.1 |
| H.265 Decode | 4Kp60 |
| H.264 Decode | 1080p60 |
| RAM | 1 GB / 2 GB / 4 GB / 8 GB LPDDR4-3200 |
| Video Output | 2× micro-HDMI (4K60 single / dual 4K30) |
| USB | 2× USB 3.0 (5 Gbps) + 2× USB 2.0 |
| GPIO | 40-pin header (3.3V logic) |
| Ethernet | Gigabit Ethernet (RJ45) |
| Wi-Fi | 802.11b/g/n/ac (2.4 GHz + 5 GHz dual-band) |
| Bluetooth | Bluetooth 5.0 / BLE |
| Camera | 1× CSI (2-lane) |
| Display | 1× DSI (2-lane) |
| Storage | microSD card slot (SDIO 3.0) |
| Power Connector | USB-C (5V / 3A) |
| PoE | Via optional PoE HAT (4-pin connector on board) |
| Dimensions | 85 × 56 mm |
Pinout
The Raspberry Pi 4 Model B uses the standard 40-pin GPIO header shared by all Raspberry Pi boards since the 1 Model B+ (2014).
Power Pins
- Pin 1, 17: 3.3V (up to ~300 mA combined)
- Pin 2, 4: 5V (from input power)
- Ground pins: 6, 9, 14, 20, 25, 30, 34, 39
GPIO and Communication Interfaces
All GPIO pins operate at 3.3V logic. They are NOT 5V tolerant.
- I2C1: GPIO 2 (SDA), GPIO 3 (SCL)
- SPI0: GPIO 7 (CE1), GPIO 8 (CE0), GPIO 9 (MISO), GPIO 10 (MOSI), GPIO 11 (CLK)
- UART0: GPIO 14 (TXD), GPIO 15 (RXD)
- PWM: GPIO 12, 13, 18, 19
- I2C0 (reserved for HAT EEPROM): GPIO 0 (SDA), GPIO 1 (SCL)
Power
The Raspberry Pi 4 uses a USB-C power connector. A 5V/3A supply is required for stable operation with USB peripherals connected. Unlike the Raspberry Pi 5, it does not require USB Power Delivery (USB-PD).
| Scenario | Recommended Supply |
|---|---|
| Desktop use (light peripherals) | 5V / 2.5A |
| Full use with multiple USB devices | 5V / 3A (official PSU) |
USB-C Power Bug
Early Pi 4 Model B boards (v1.0 and v1.1) contained a USB-C power design error that caused incompatibility with some "e-marked" USB-C cables, which would refuse to supply power. This was fixed in board revision v1.2. If using an older Pi 4, use a standard (non-e-marked) USB-C cable, or purchase a revised board.
On-Board Components
| Component | Description |
|---|---|
| BCM2711 SoC | Quad-core Cortex-A72 CPU + VideoCore VI GPU |
| LPDDR4-3200 RAM | 1 GB / 2 GB / 4 GB / 8 GB on-package |
| CYW43455 Module | Dual-band 802.11ac Wi-Fi + Bluetooth 5.0 |
| VL805 USB Controller | USB 3.0 / USB 2.0 host controller over PCIe |
| LAN7515 | Gigabit Ethernet + USB hub |
| microSD Slot | SDIO 3.0 slot |
| CSI Connector | Camera interface (2-lane) |
| DSI Connector | Display interface (2-lane) |
| PoE Header | 4-pin connector for PoE HAT |
Wireless Connectivity
Wi-Fi
- Standard: 802.11b/g/n/ac (Wi-Fi 5)
- Bands: 2.4 GHz and 5 GHz dual-band
- Antenna: PCB trace antenna on-board
Bluetooth
- Version: Bluetooth 5.0 / BLE
- Supports mice, keyboards, audio devices, and BLE sensors
Getting Started
What You Need
- Raspberry Pi 4 Model B
- MicroSD card (16 GB or larger, Class 10 recommended)
- USB-C power supply (5V / 3A)
- Micro-HDMI to HDMI cable
- Monitor, USB keyboard, and USB mouse
Step 1: Flash the microSD Card
Install Raspberry Pi Imager from https://www.raspberrypi.com/software/. Choose your Pi 4, select Raspberry Pi OS (32-bit or 64-bit), and write to your microSD card. Configure Wi-Fi, SSH, and credentials in the settings before writing.
Step 2: Connect and Boot
Insert the microSD card, connect micro-HDMI to a monitor, attach a USB keyboard and mouse, and apply USB-C power. The Pi 4 boots to the Raspberry Pi OS desktop in about 20–30 seconds.
Step 3: Update the System
Open a terminal and run system updates before starting your project.
Step 4: GPIO Blink Example
Connect an LED and 330-ohm resistor between GPIO 17 (pin 11) and ground (pin 9):
You can also use the higher-level gpiozero library:
Programming
Python
Python 3 is pre-installed on Raspberry Pi OS. The primary GPIO libraries are gpiozero (recommended for beginners) and RPi.GPIO (for more direct control).
C / C++
GCC is pre-installed. Low-level GPIO access is available via pigpio, wiringPi, or direct register access.
Scratch
Scratch 3 is included on the desktop for block-based visual programming.
Node.js / JavaScript
Node.js is installable via NodeSource. Widely used for IoT dashboards and server-side web projects.
Java
OpenJDK is available via apt install default-jdk. Common in schools and university curricula.
Other Languages
Go, Rust, Ruby, PHP, Perl, and nearly all Linux-available languages work on Pi 4.
Package Contents
The Raspberry Pi 4 Model B is sold as a bare board. Accessories available separately include:
- Official USB-C power supply
- Official case (red and white)
- Micro-HDMI to HDMI cable
- MicroSD card (various capacities)
- Camera Module 3 (CSI connector)
- PoE HAT (for Power over Ethernet)
- Official heatsink and active cooler
Starter kits bundling the board with accessories are available from authorised resellers.
Applications
- Desktop computing and web browsing
- Lightweight server (web, file, media)
- Retro gaming emulation
- Machine learning inference (TensorFlow Lite, etc.)
- Home automation hub
- Network-attached storage
- Digital signage
- Robotics and autonomous vehicles
- Camera and computer vision projects
- Learning Linux, Python, and electronics
Where to Buy
- Official product page: https://www.raspberrypi.com/products/raspberry-pi-4-model-b/
- Amazon: https://www.amazon.com/s?k=Raspberry+Pi+4+Model+B
- Authorised resellers: Adafruit, SparkFun, PiShop, Farnell, RS Components, Mouser, Digi-Key
Equivalent Boards
| Board | CPU | RAM | Key Difference |
|---|---|---|---|
| Raspberry Pi 5 | Cortex-A76 @ 2.4 GHz | 4 or 8 GB | Next generation — faster, PCIe, RTC, RP1 |
| Raspberry Pi 400 | Cortex-A72 @ 1.8 GHz | 4 GB | Pi 4 silicon in keyboard form factor |
| Banana Pi M5 | Cortex-A55 (S905X3) | 4 GB | Different SoC, comparable performance |
| Orange Pi 4 LTS | Cortex-A72/A53 (RK3399) | 4 GB | Similar performance tier |
| ODROID-C4 | Cortex-A55 (S905X3) | 4 GB | Similar class, strong media support |
Documentation
- Official Raspberry Pi 4 page: https://www.raspberrypi.com/products/raspberry-pi-4-model-b/
- Raspberry Pi documentation: https://www.raspberrypi.com/documentation/
- BCM2711 product brief: https://datasheets.raspberrypi.com/bcm2711/bcm2711-product-brief.pdf
- Raspberry Pi Imager: https://www.raspberrypi.com/software/
Notes
- HAT compatibility: The 40-pin GPIO header is fully HAT-compatible. The Pi 4 follows the standard HAT specification and accepts all HATs designed for Pi B+ and later. Physical clearance from the dual micro-HDMI ports may affect some wide HATs — check measurements.
- The Gigabit Ethernet on Pi 4 is implemented through a separate VL805 USB chip over PCIe, giving it proper gigabit performance unlike Pi 3B+ (which used a USB 2.0 hub). Real-world throughput is close to full gigabit speeds.
- Early board revisions (1.0, 1.1) have the USB-C power compatibility issue described in the Power section. Board revision is printed on the PCB.
- For sustained high-CPU workloads, a heatsink or active cooler is recommended to prevent thermal throttling. The Pi 4 will throttle at 80°C and shut down at 85°C.
- USB booting (booting from USB SSD without an SD card) is supported on Pi 4 via bootloader update. This significantly improves boot speed and storage I/O performance.
Community
- Raspberry Pi Forums — official community for questions and projects
- r/raspberry_pi (Reddit) — share projects and ask questions
- Raspberry Pi Discord — real-time chat with the community
Revision History
| Version | Date | Notes |
|---|---|---|
| v1.0 | 2026-06 | Initial entry |